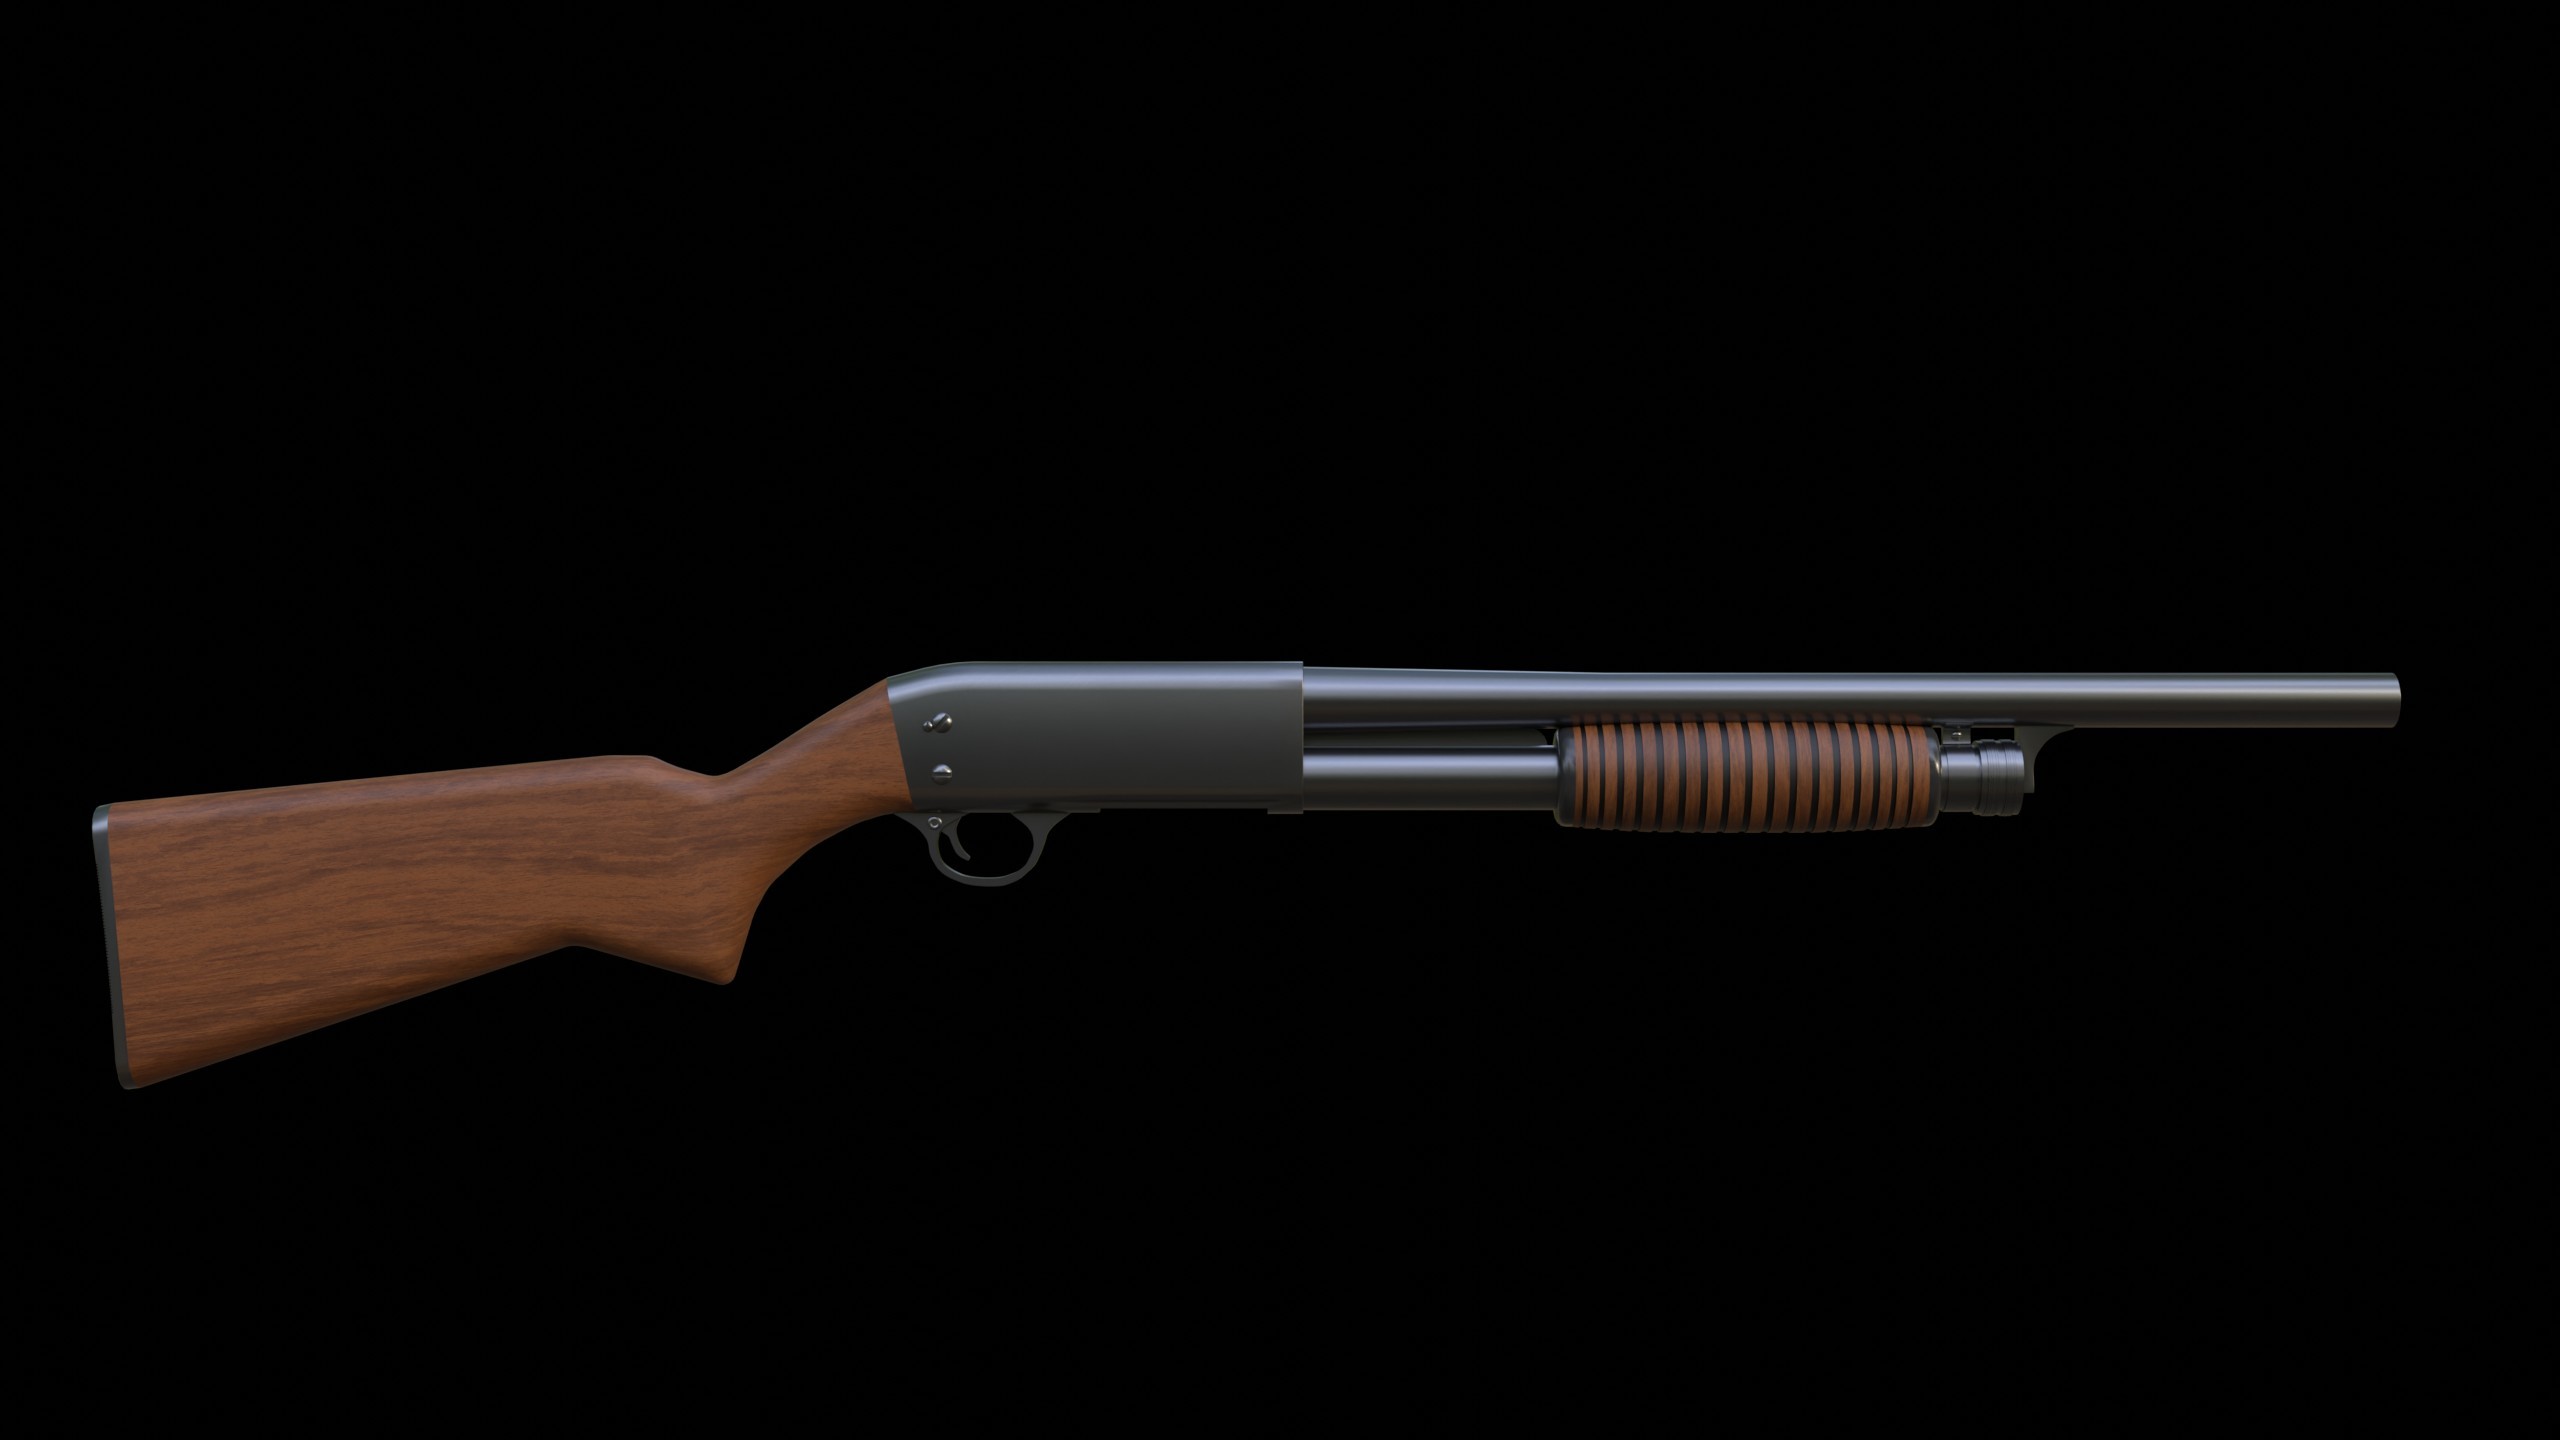
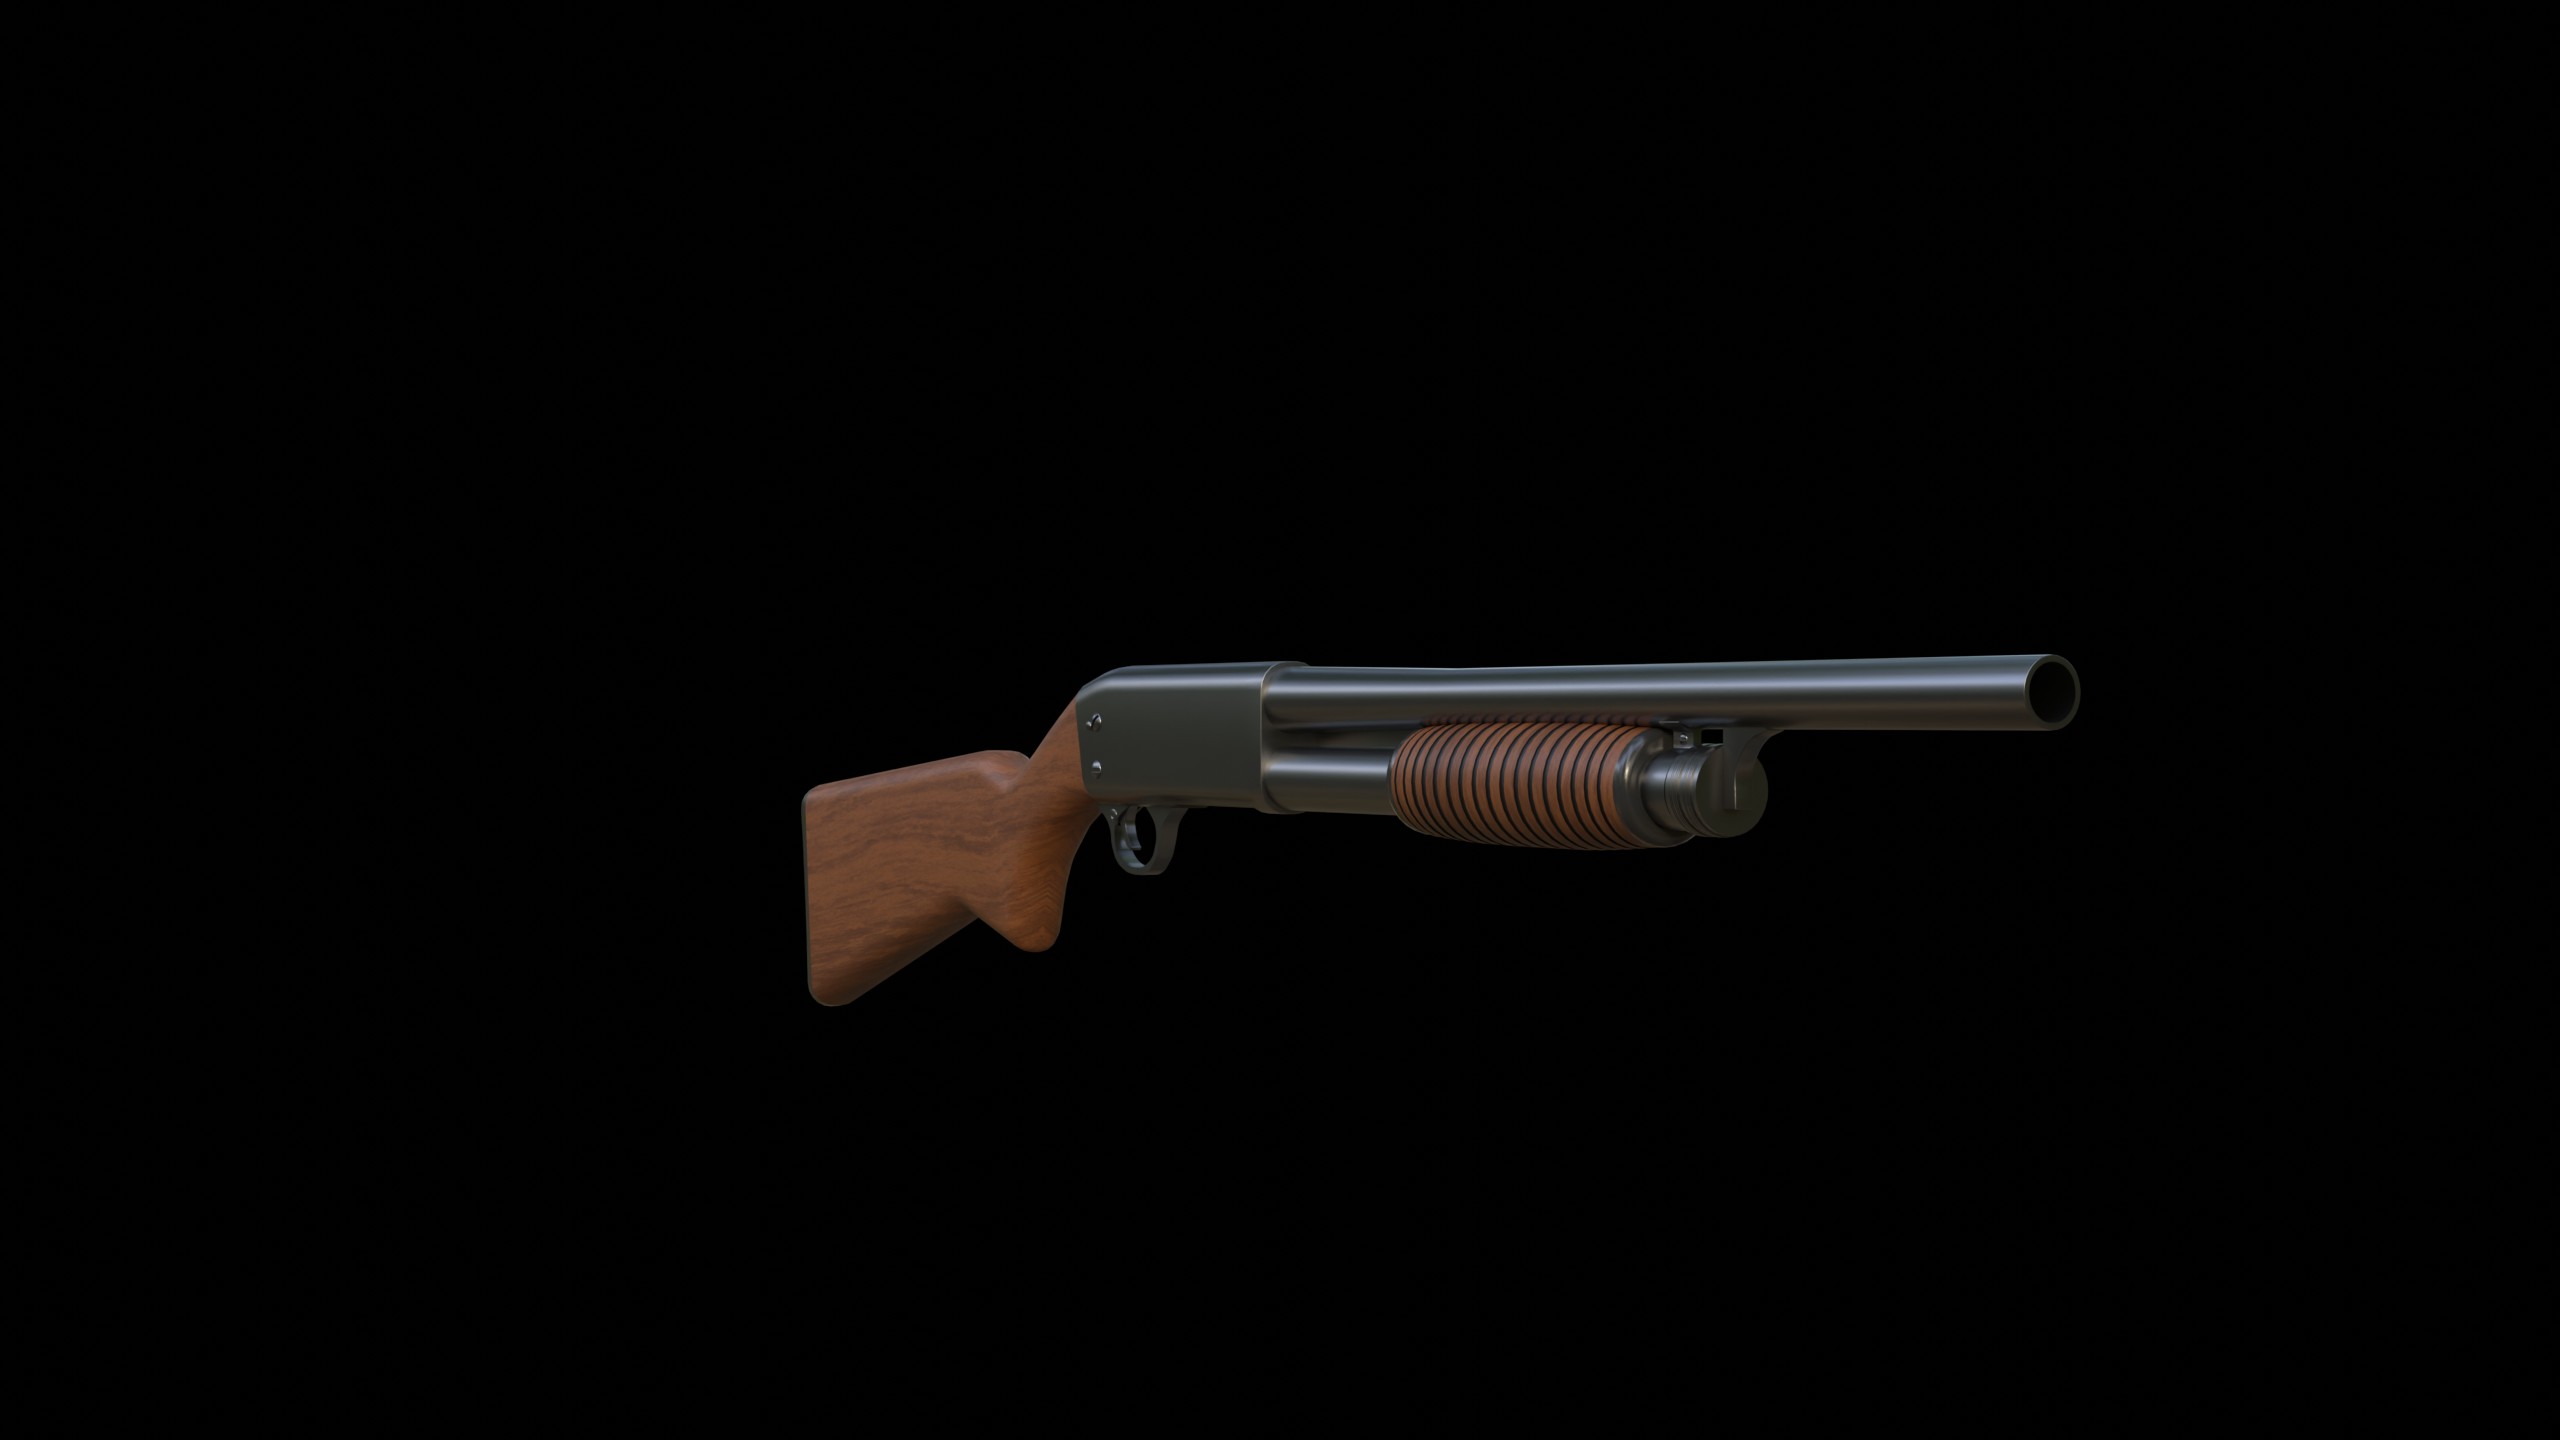
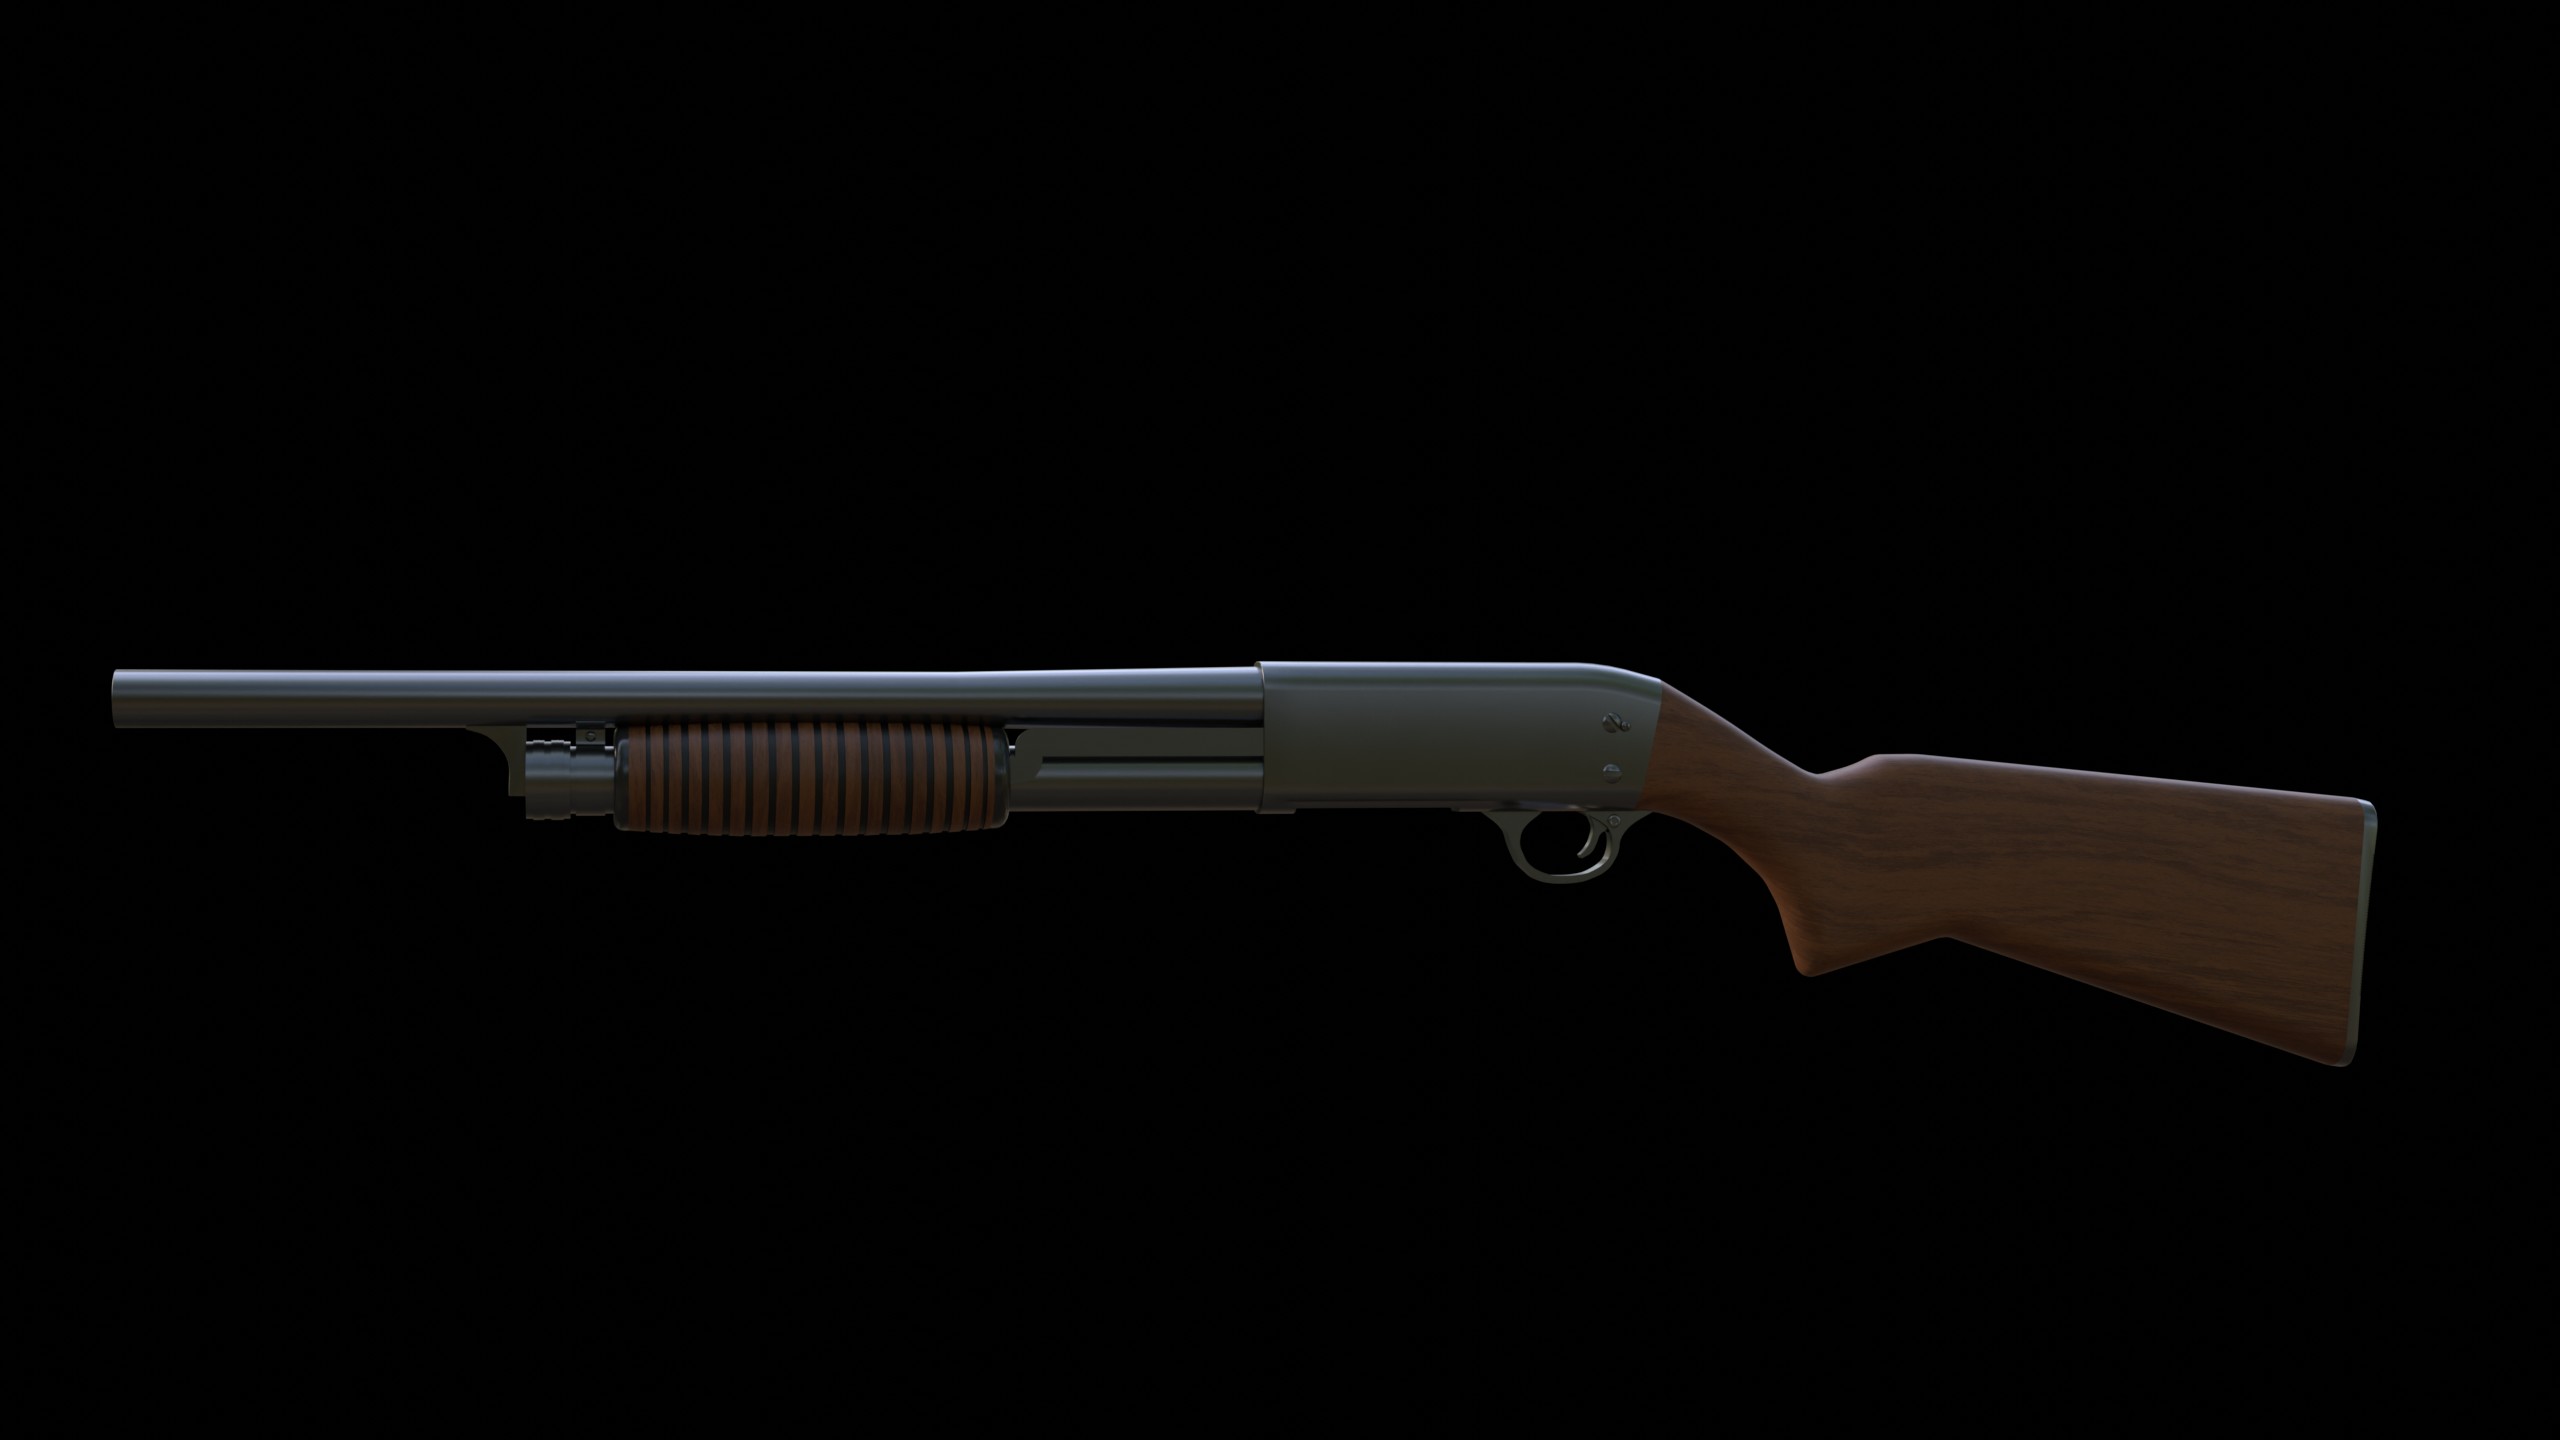
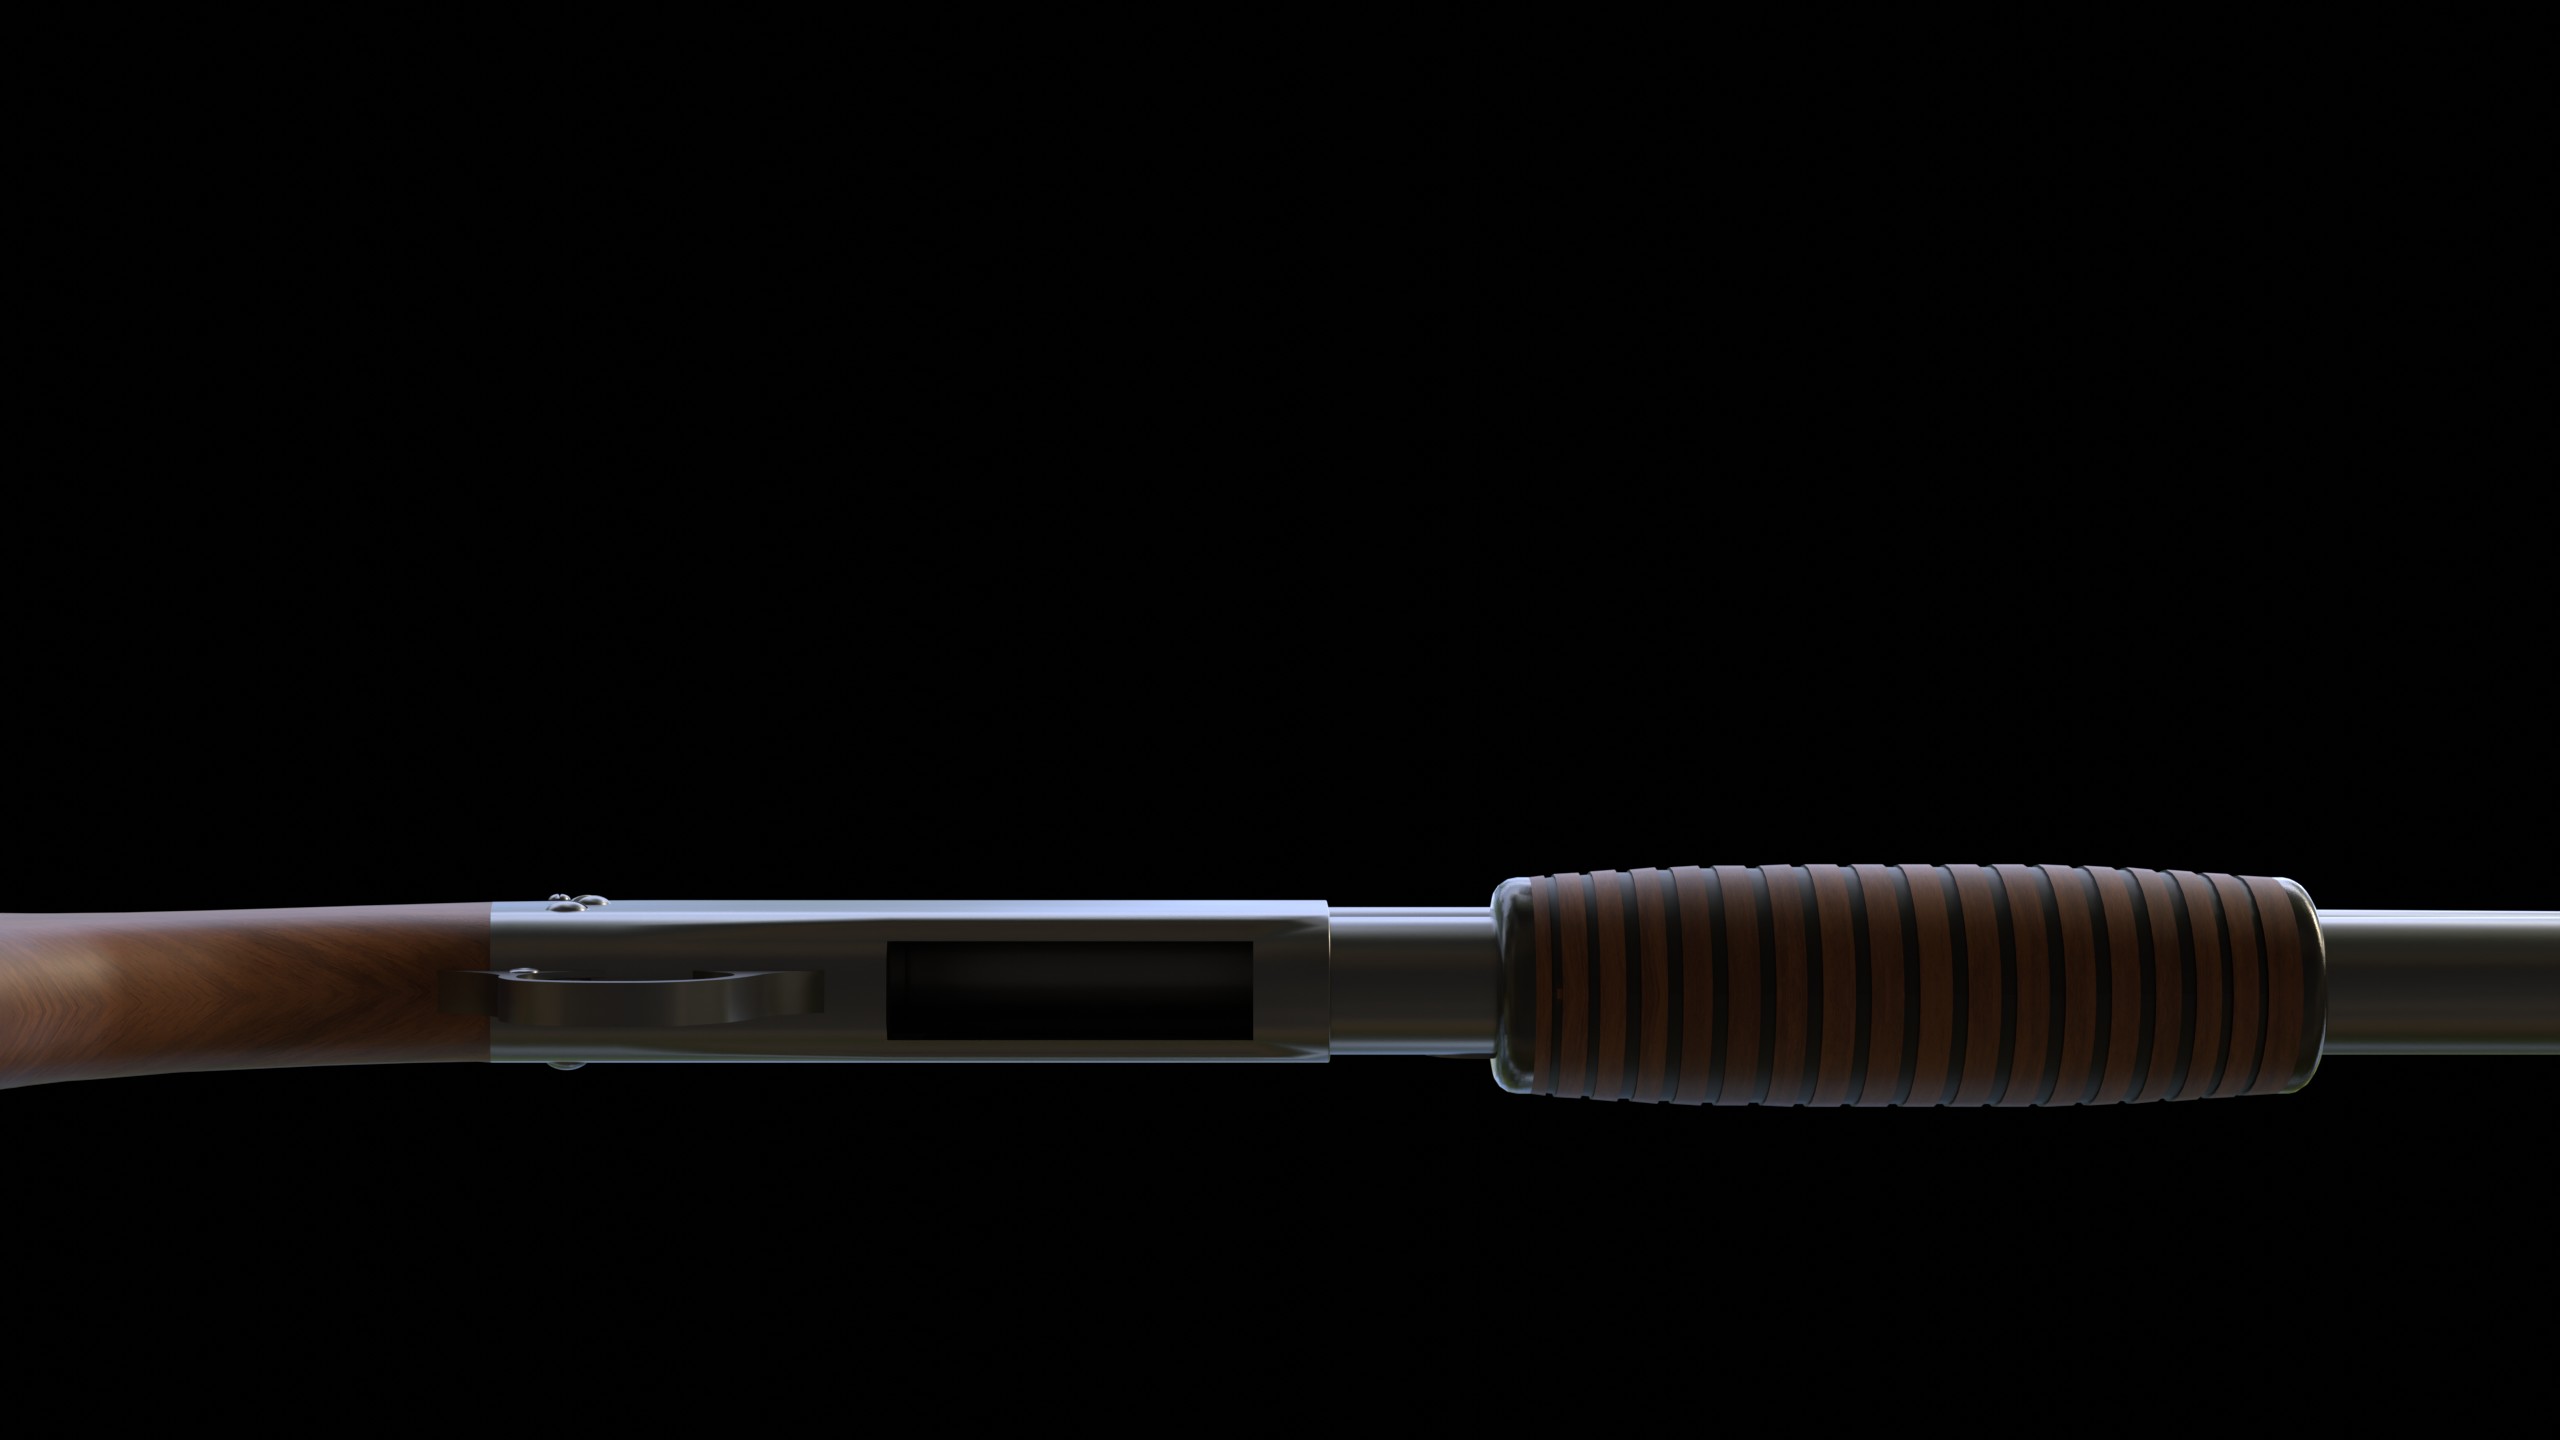
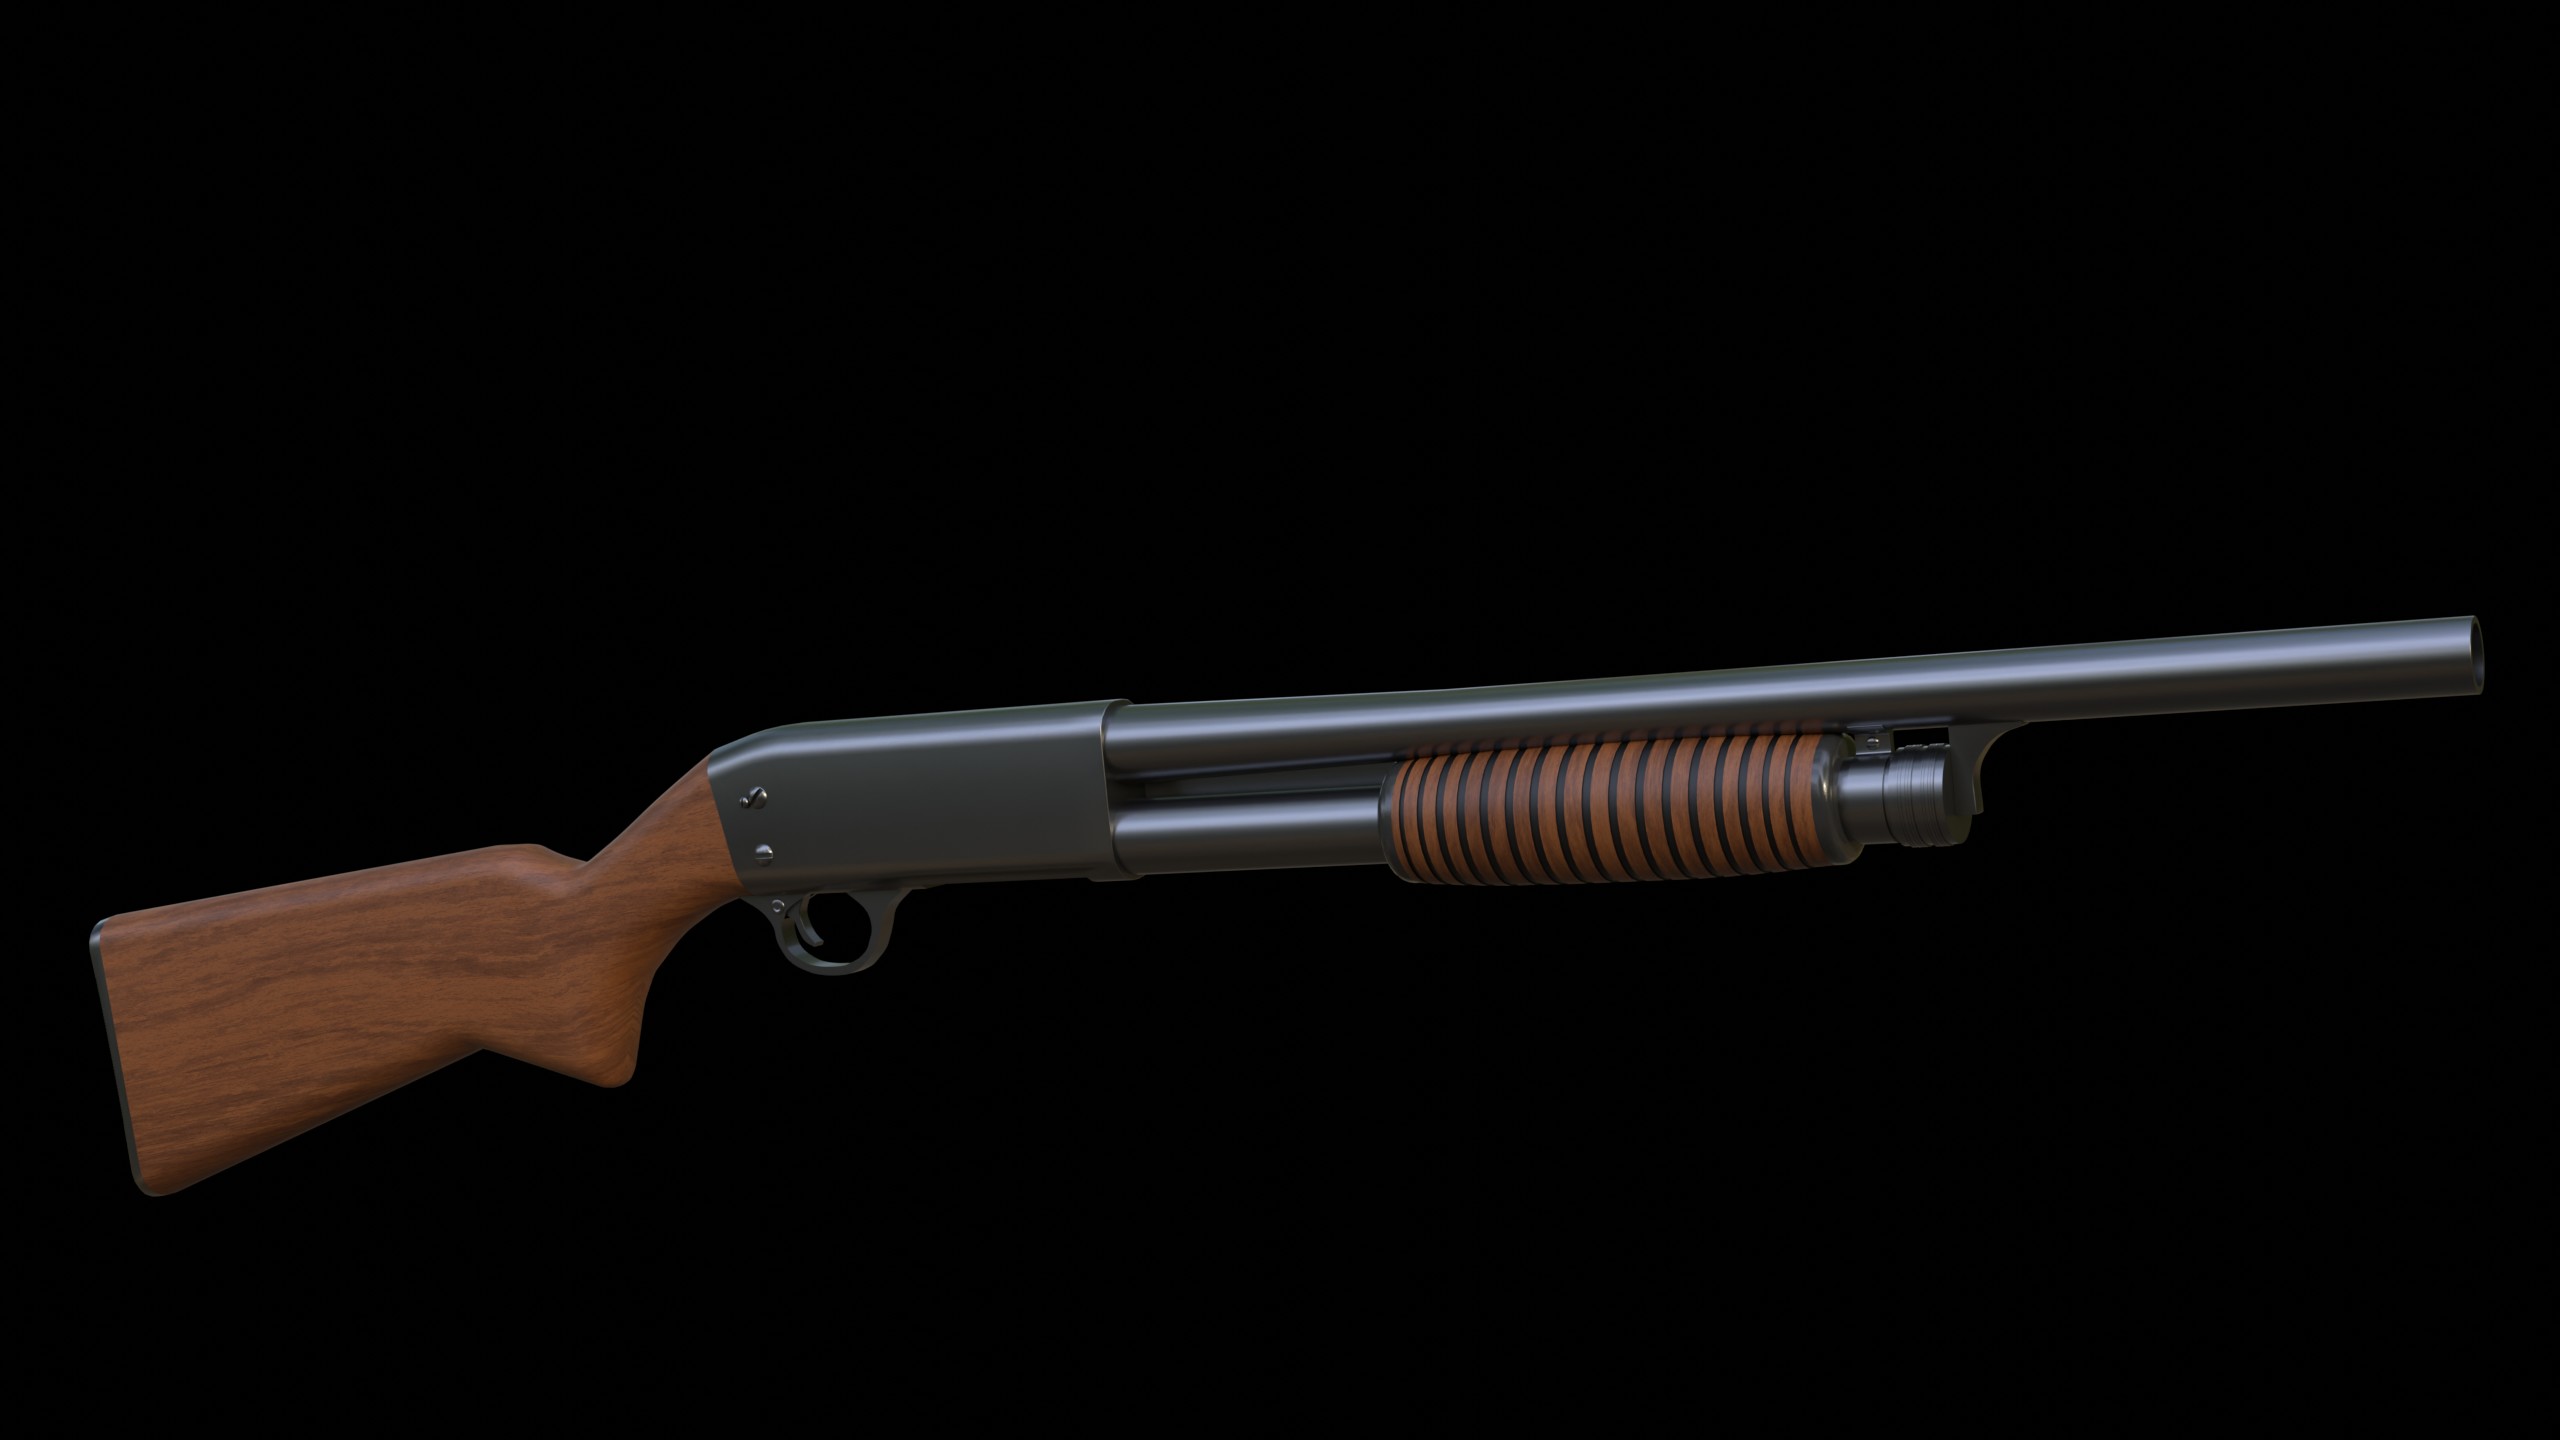
The first thing you might think when you see this magnificent shotgun is probably something like this; “Such an amateur! It doesn’t even have an ejection port!”. Yes, it is true that popular models like the Remington or the Mossberg has ejection ports on the right side, but not this beauty. No, the Ithaca 37 is a very unique weapon and one of the many reasons I chose to model it, was the very rare bottom ejection. See, the reason it makes it unique is not only because almost no pump action shotguns have one, but because it is a wonder of engineering.
Normally when you pump the loader back the empty shell would fly out of the side and when you pump it away from you a new shell is loaded. However, this motion can lead to jamming. The Ithaca 37 works with gravity to eject the old shell and a form of gate switch between opening for ejection and loading, which makes it almost impossible for it to jam! It is also one of very few pump action shotguns that can withstand the “slamfire” technique.
Ithaca 37: Brand new
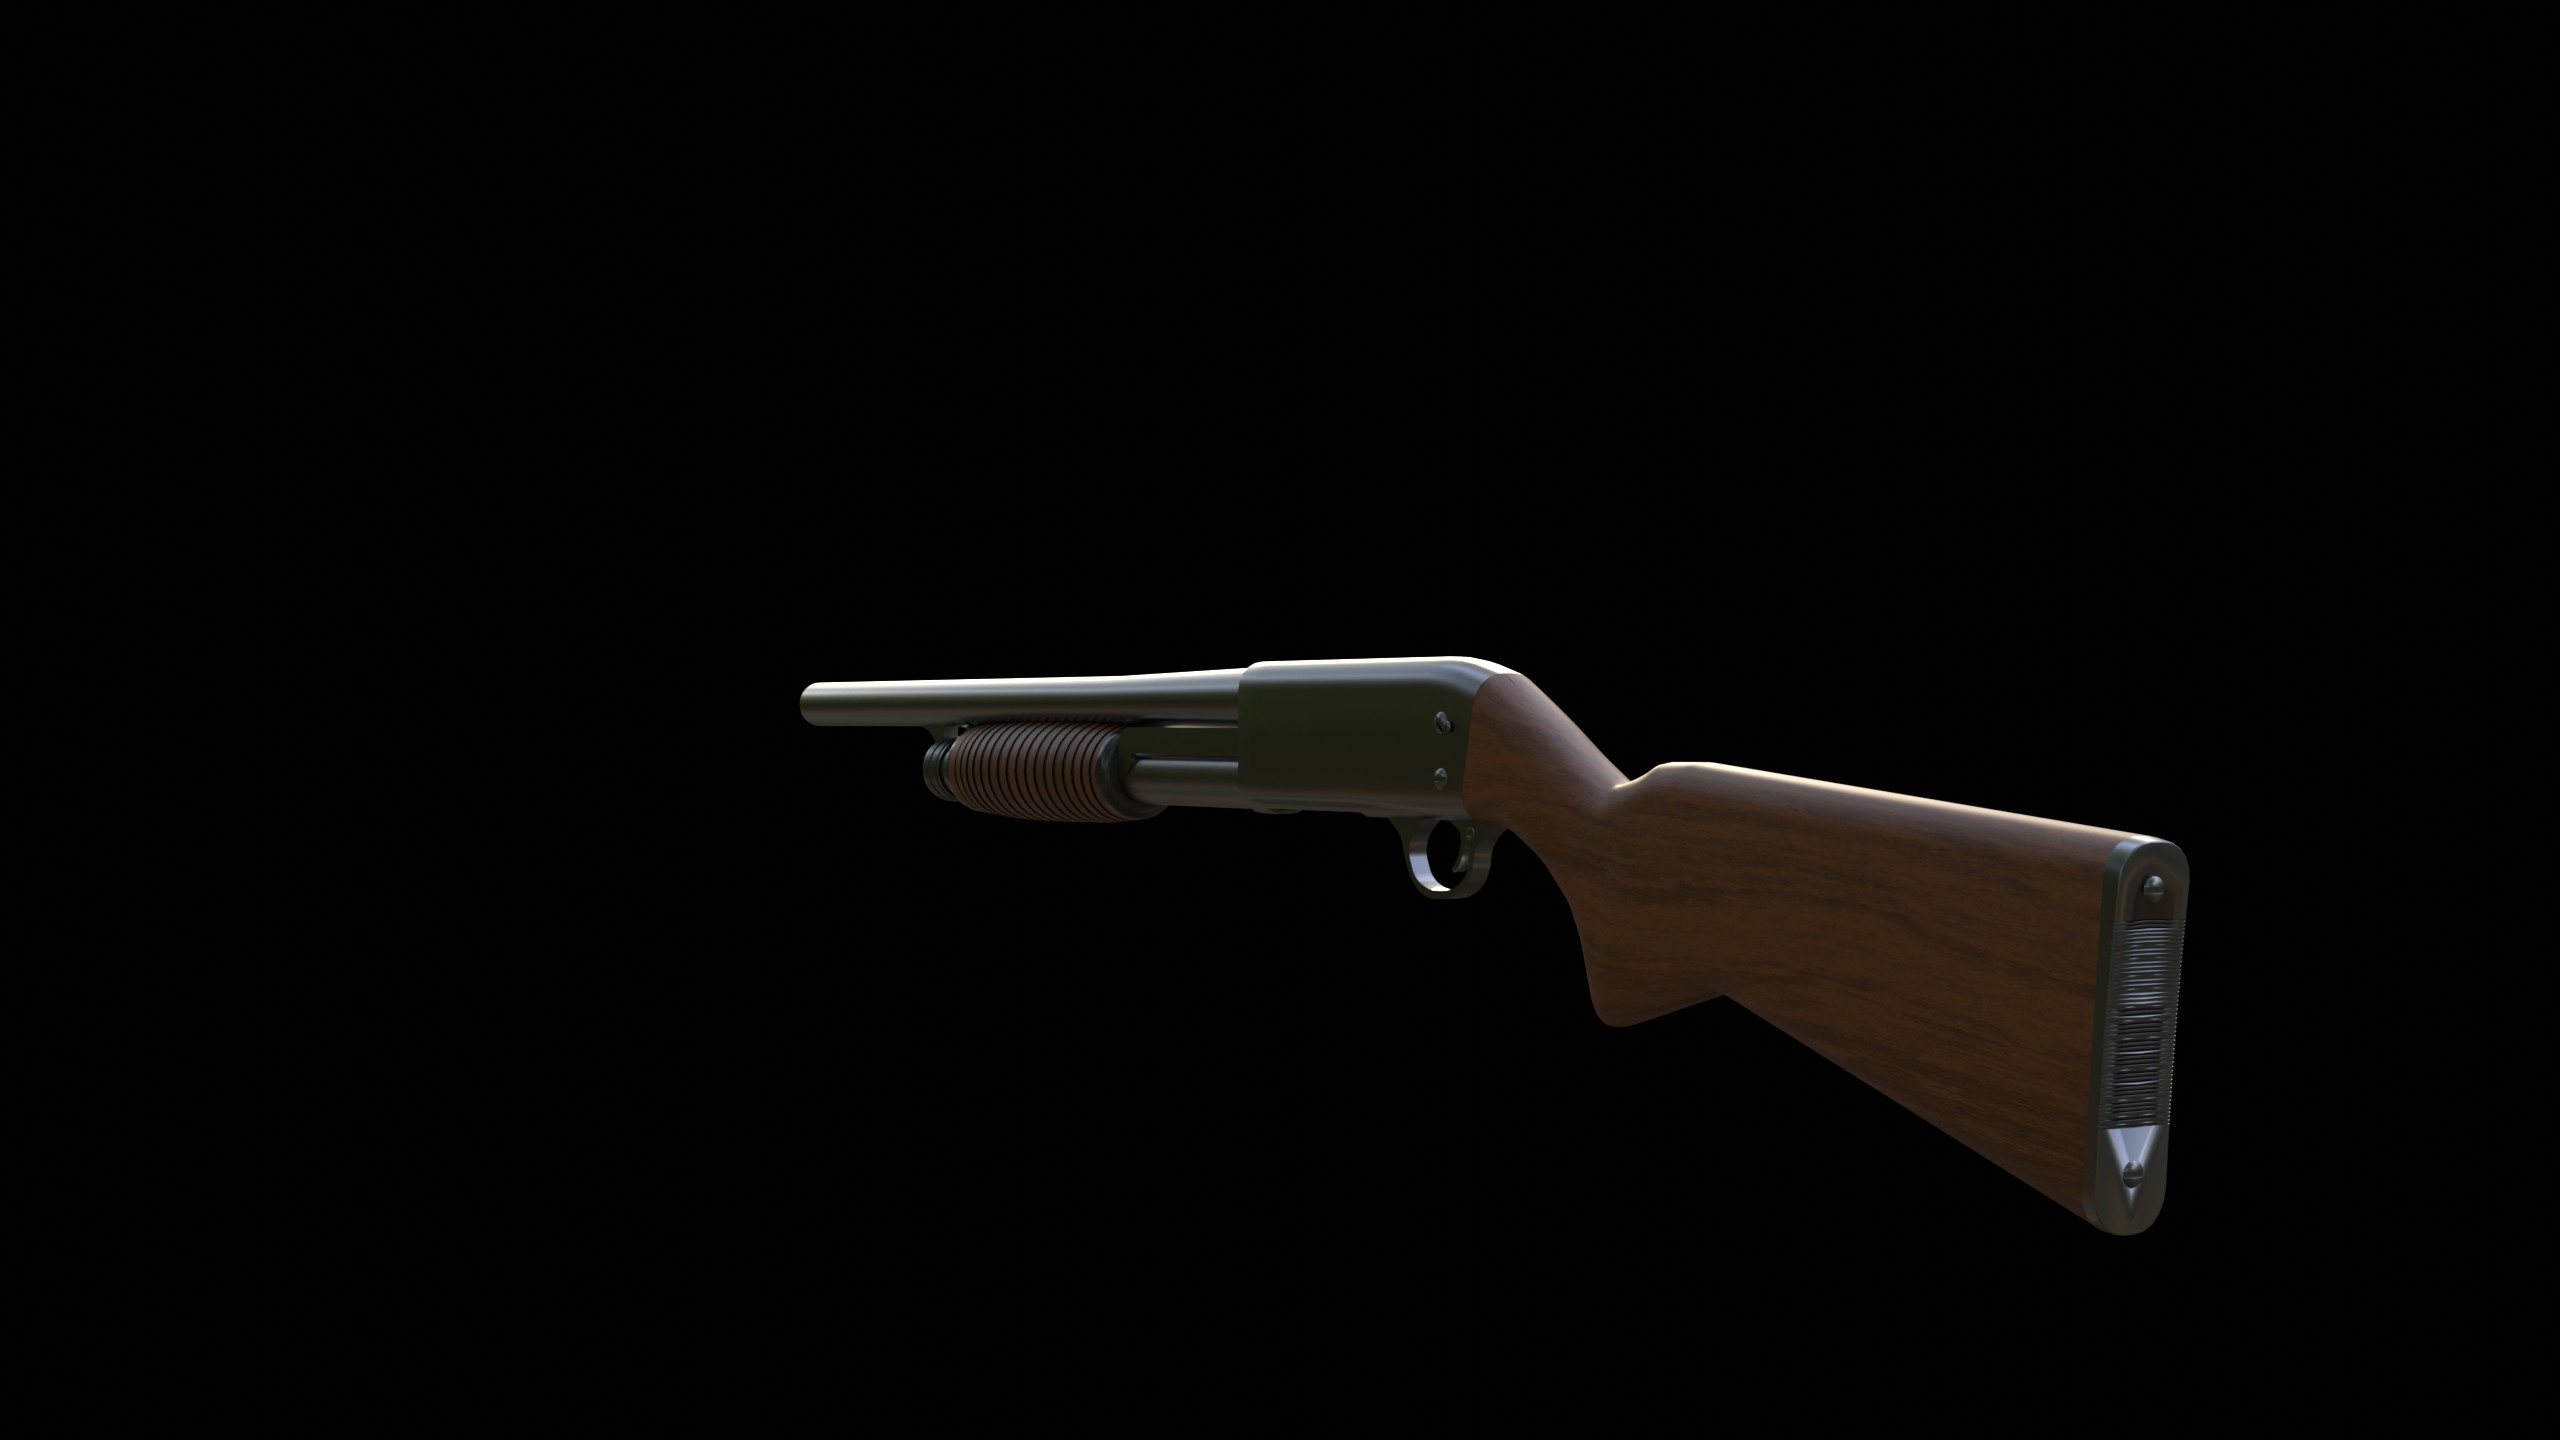
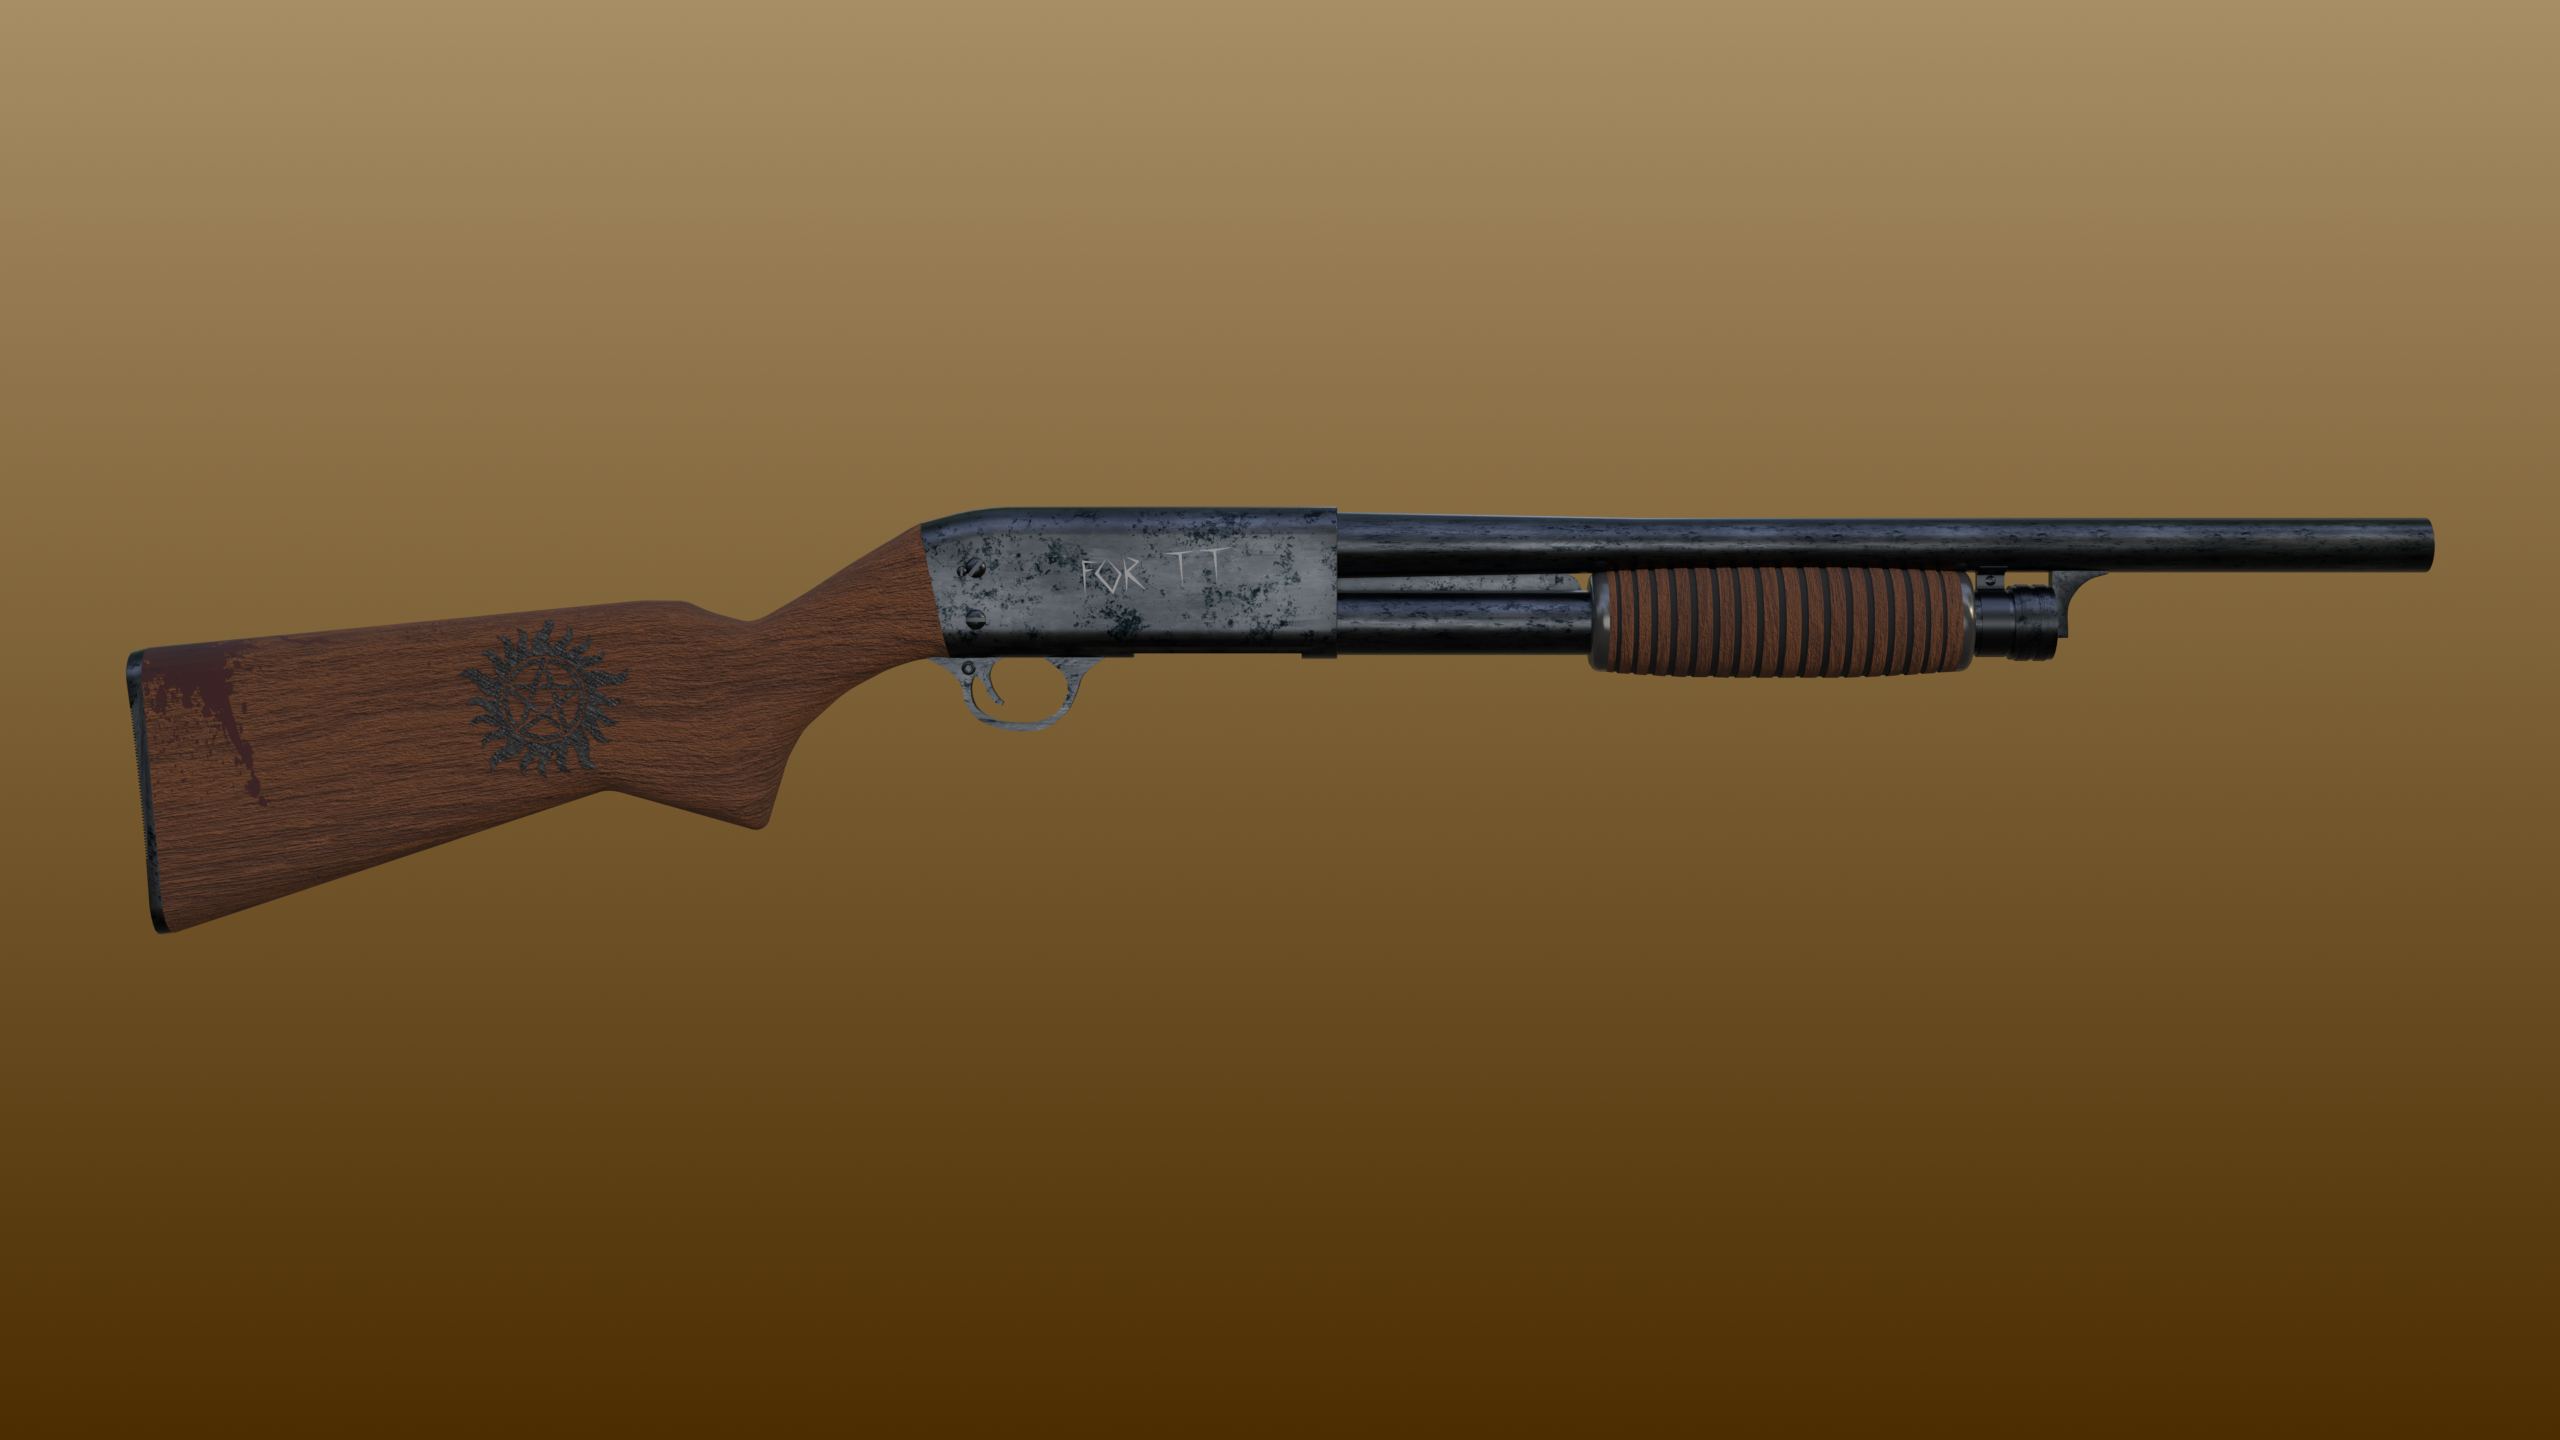
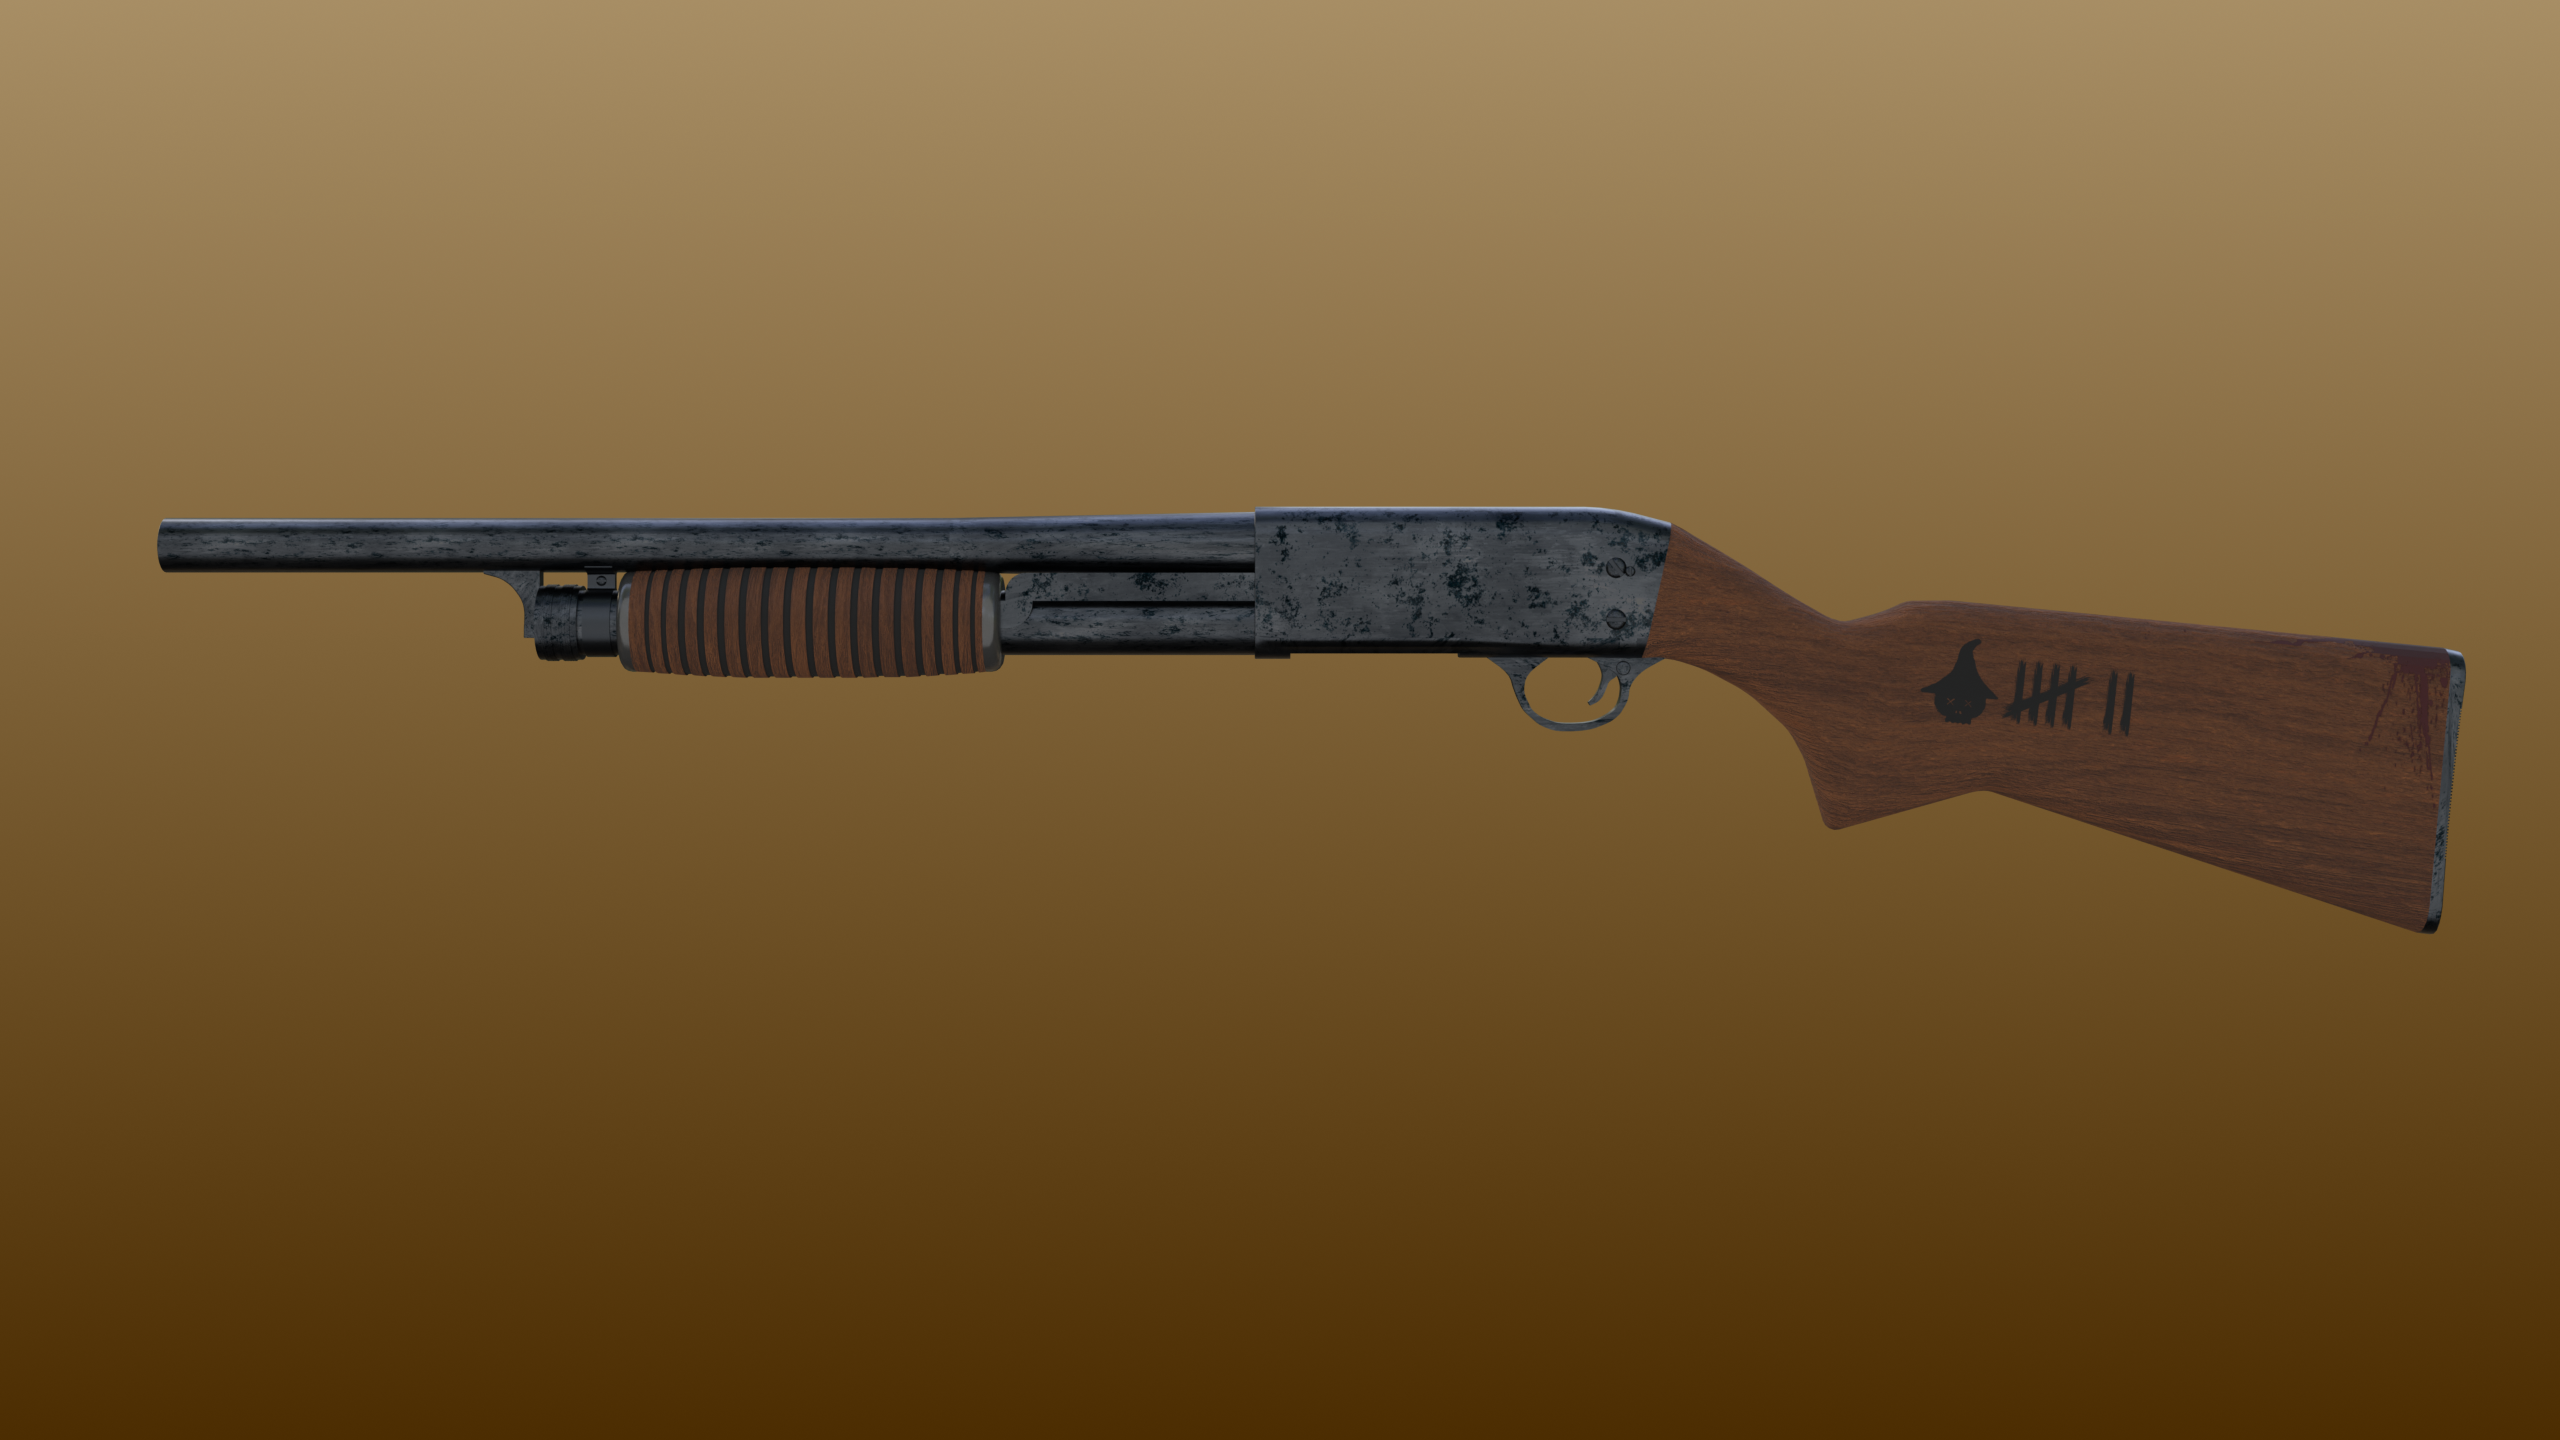
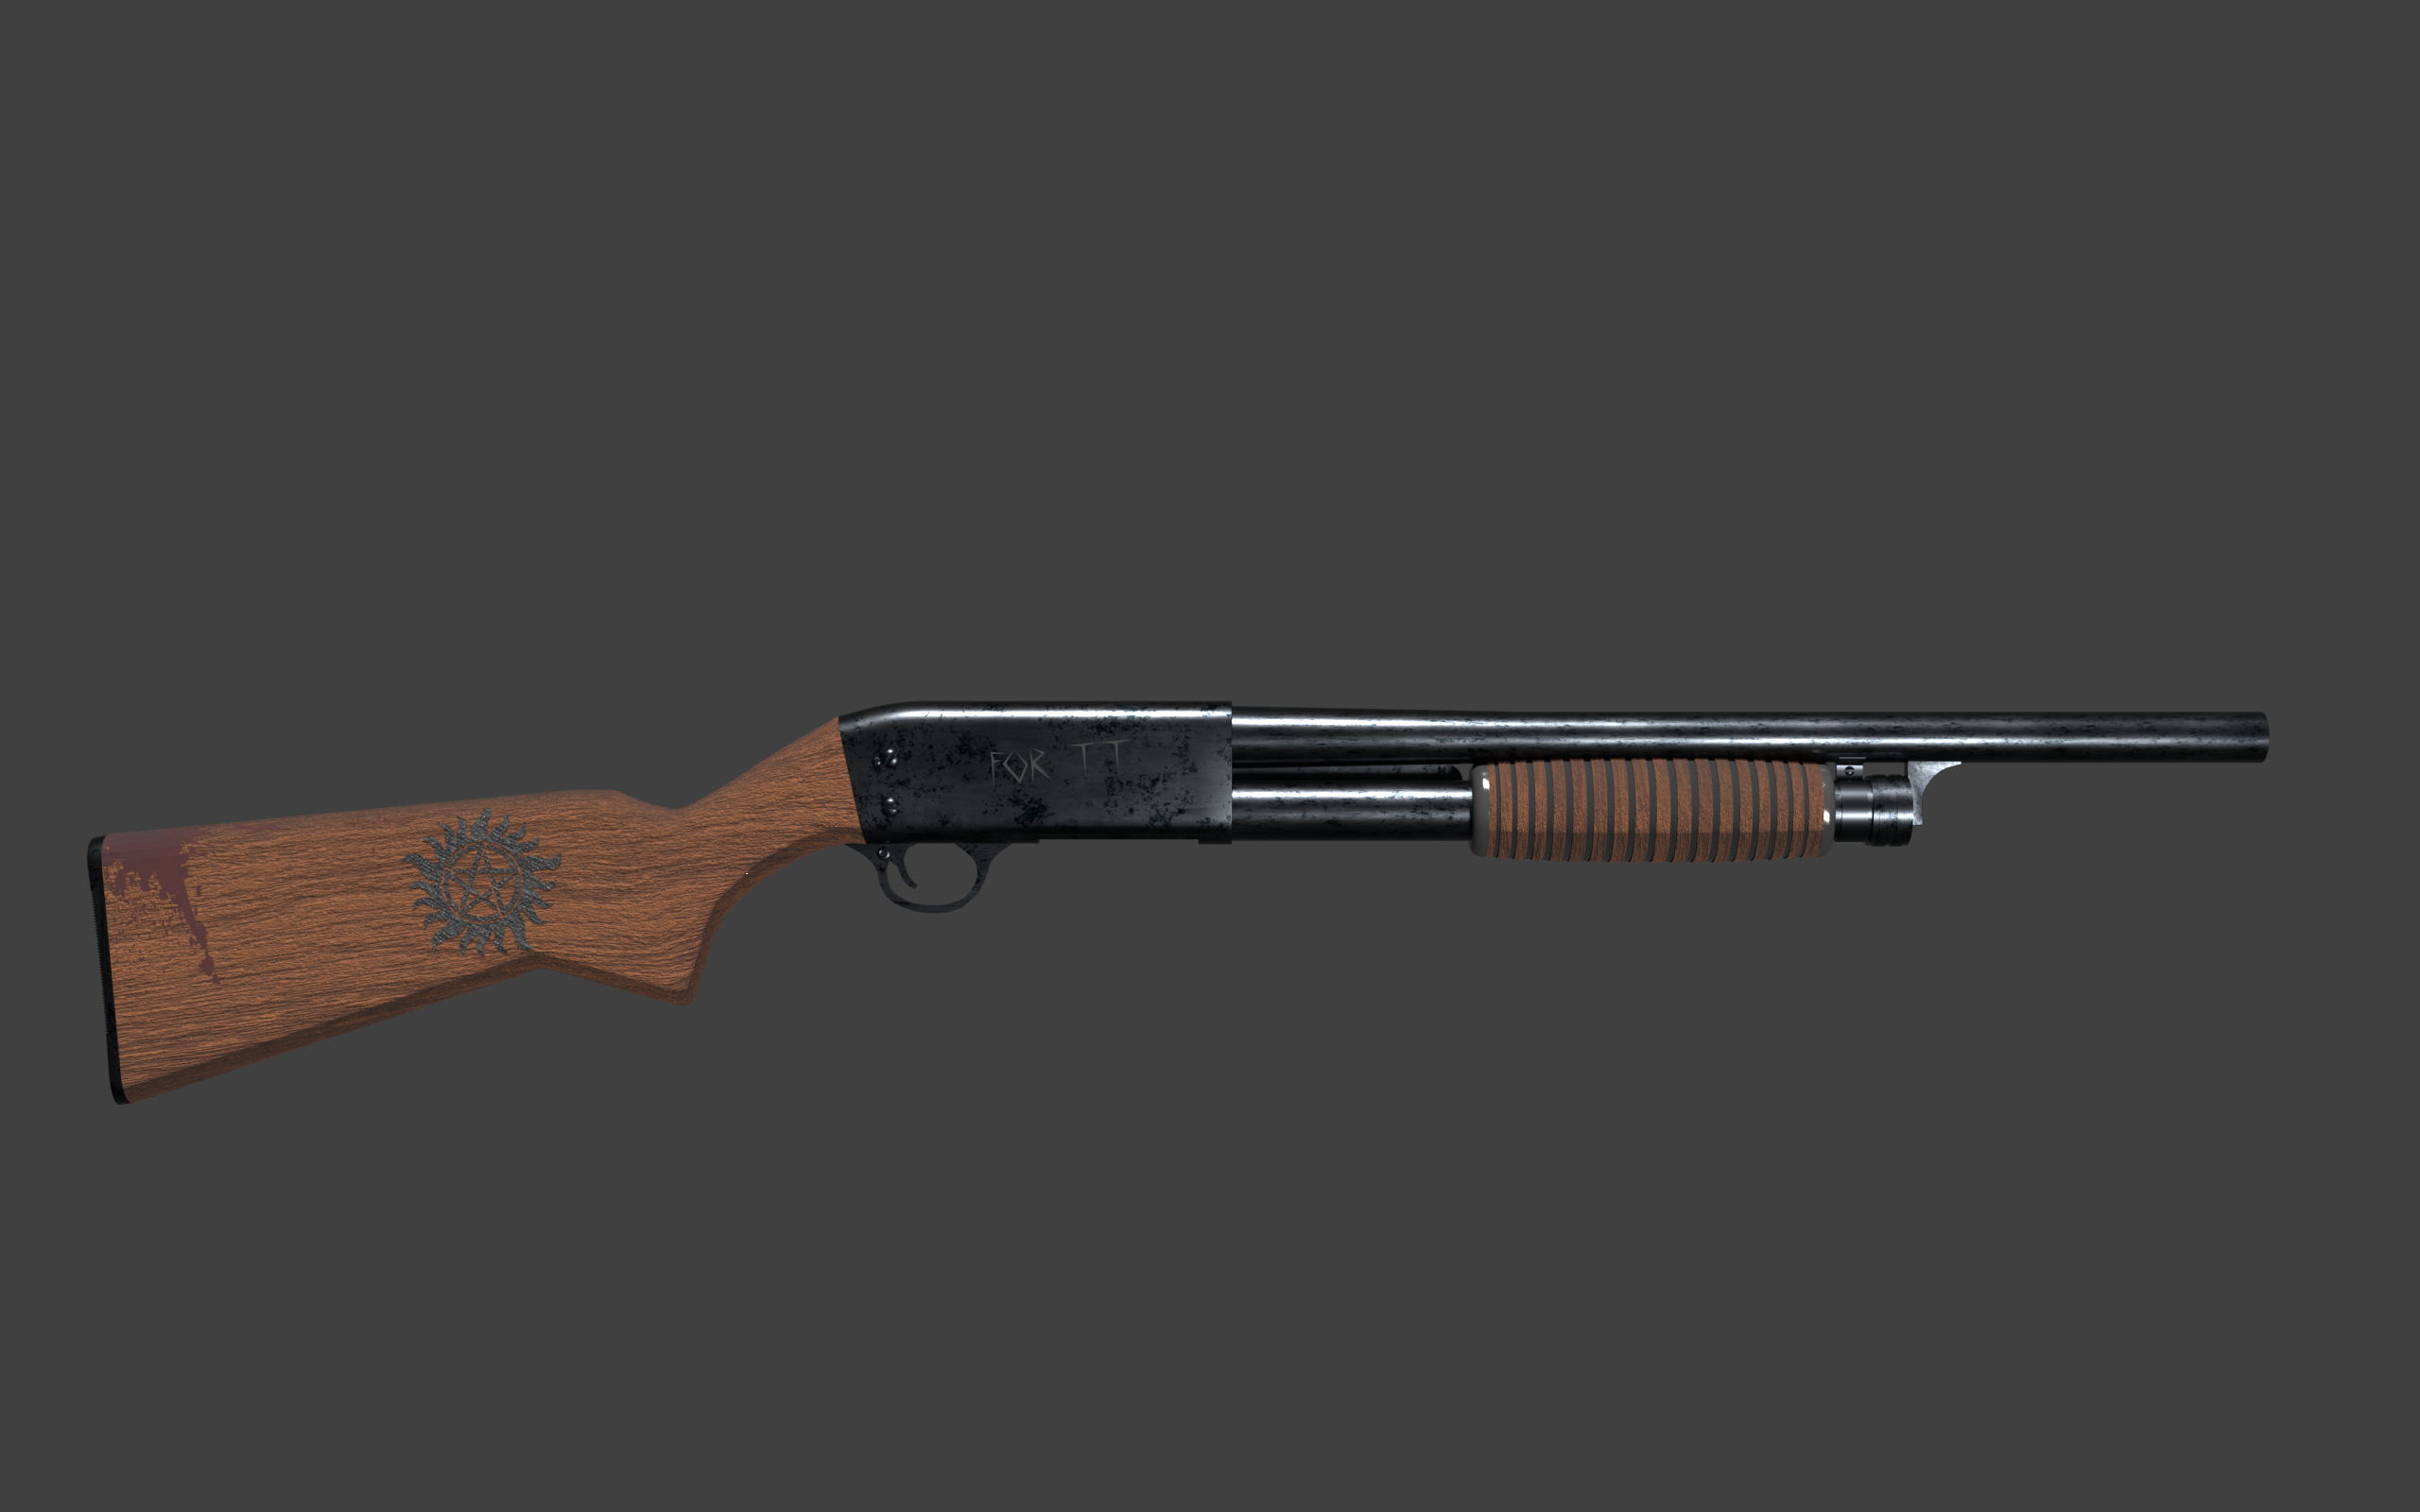
Ithaca 37: Well used
Why model it?
My main reason for modelling this shotgun has more educational reasoning to it as well. As this was my first project that had other motives to it rather than just learning a skill, I wanted something that was a challenge. With a more challenging project I had the opportunities get outside my comfort zone, learn more advanced techniques and make already learned techniques to become automatic. This project has it all. Unique shapes, tiny details, specific proportions and required skills I haven’t even learned, such as wrapping, material nodes, modifiers and more!
Unique shapes
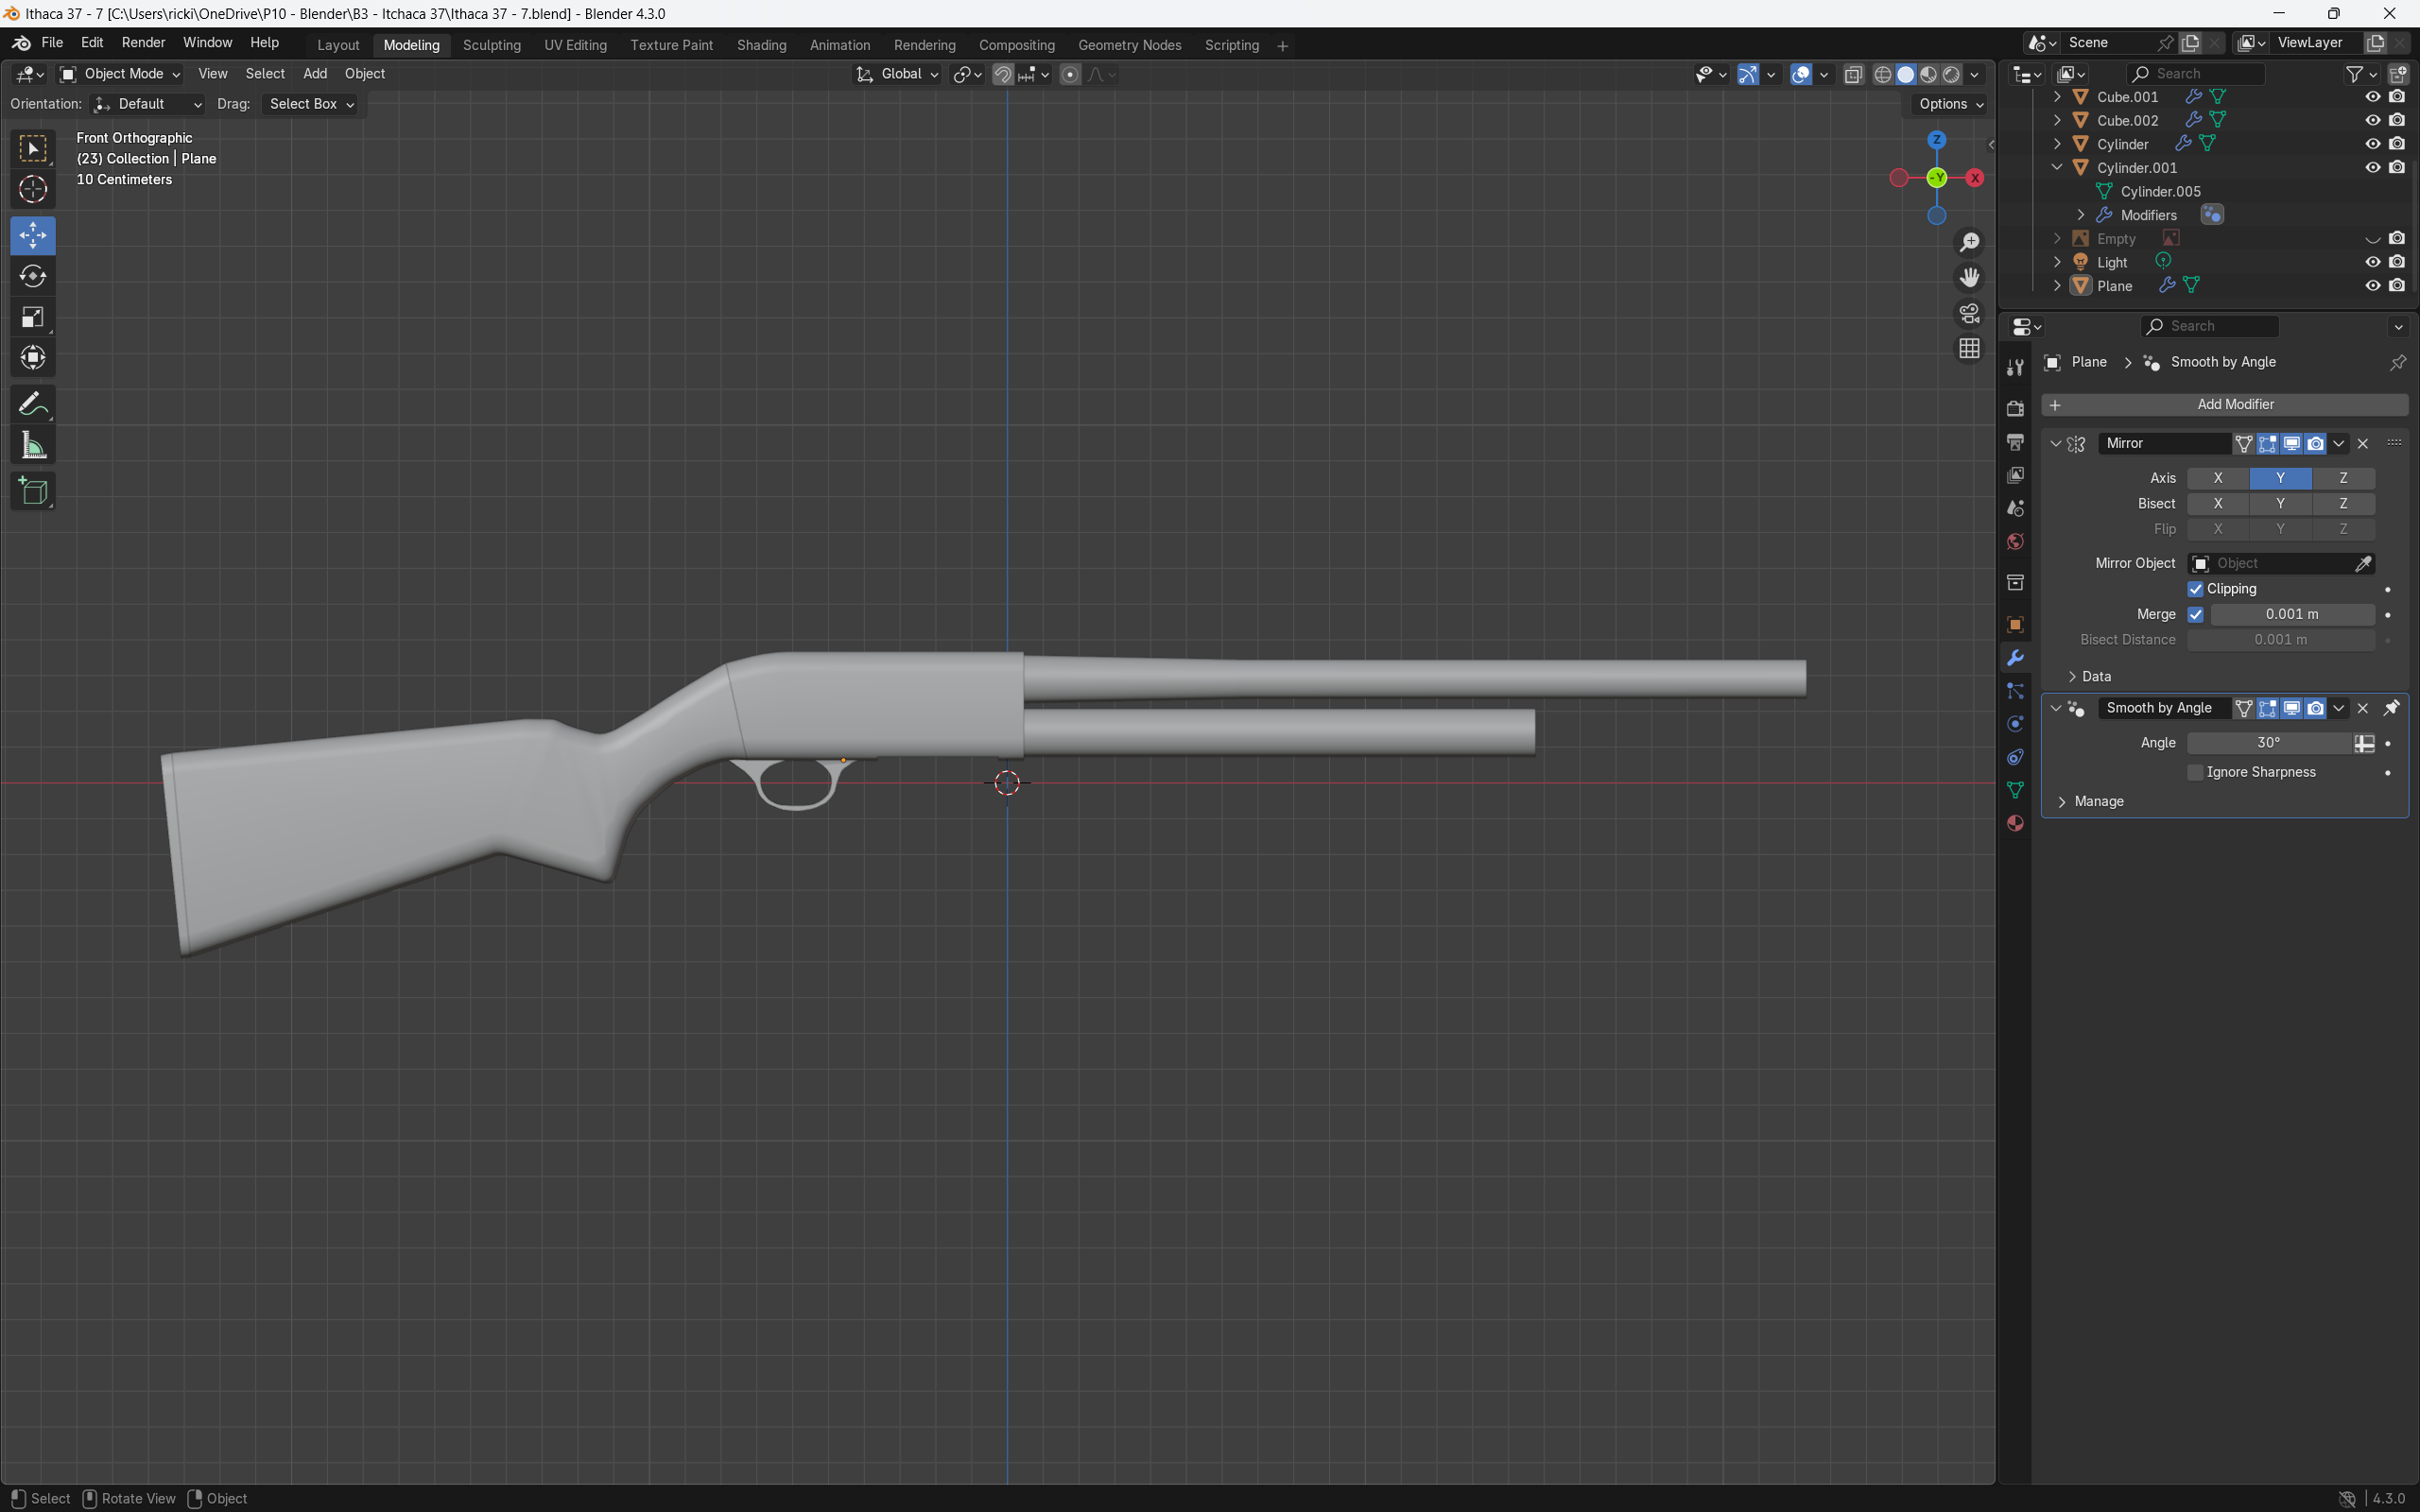
The first challenging part was the buttstock of the shotgun. With organic shapes like the donut, there still was a fundamental basic shape of it and to make the donut look realistic you had to use the sculpt tools. However, for the buttstock there is many more steps. The best way is to think about how it would be made in real life.
It is a piece of wood that has the rough shape marked on it. In Blender it is almost the same. I had already imported a reference image, so the wished shape was always behind the object.
Then I created a rough shape by extruding from a cube and repositioned the new vertices to cover as much of the wished shape as possible. I kept extruding and moving vertices until I had a full buttstock. The next step was to make the blocky shape to have less hard edges. I would start with corners pointing inwards as the need to be rounded in the x-axis first. If corners aren’t rounded first, it creates a visual artifact that is almost never seen in real life. When that was done, I could round all other edges that was flush to the metal and then with the smoothness modifier make it look like a refined wooden stock.
The tiny details
If you want a model to look realistic even the tiniest details are important. The most cost-effective way is to add them as textures and often used for games. If the object is by itself and for projects like promo videos of a new product, it might be best to model these details as this will bring more realism. Modelling the details was the choice I took for the Ithaca 37.
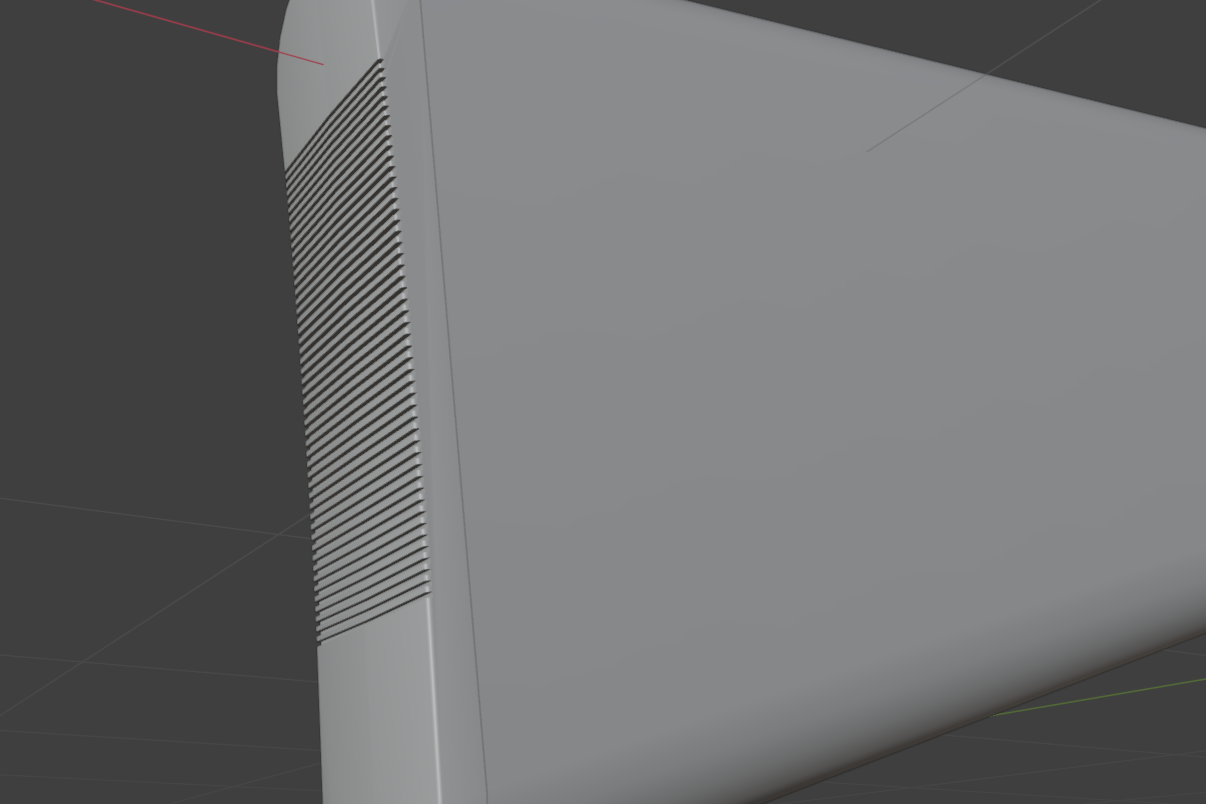
At the very end of the shotgun there is a metal plate attached the buttstock. This metal plate has machined horizontal groves. Because these grooves are very small and is not very deep many chooses to use textures to give it the illusion.
I chose to model them. While it took a long time it was easy. It required me to remove a few faces, subdivide a few edges many times and extrude every second of the new edges made. Then all missing faces was added. The pump of the shotgun has grooves to, although bigger. These was made the same way.
At the end of the magazine barrel there is a cap that can be screwed off on the real gun. This cap also has a grooved pattern, smaller and is less remarkable that the previous grooves. These were made by subdividing the cylinder of the cap and moving the centre vertices away from the cap. Other details where added, like a loading port that fit a 1:1 12-gauge shell perfectly, 1:1 barrel, all Philip head screws, the safety and even the risen texture on the trigger.
Importance of materials
This was my very first time working with textures. Former projects have simply gotten added colours and material properties, but this time proper texture was needed to make the Ithaca 37 look real. The challenge here was to learn the different material nodes, so that I could create the illusion of depth, plus wear and tear. These notes became invaluable as finding rough and worn looking wood isn’t easy.
The results were amazing. The wood truly looks like it hasn’t been maintained with wood oil for a long time. The same concept was used for the wood burning texture too.
I also had to learn how to properly lay out the texture on an object with UV mapping and how to paint other details, like the black rings on the pump. Which is why I started by making a clean version that looks brand new. It was the first step to learn how to apply textures.
As the shotgun had to look old, used, and slightly damaged, I learned how to turn images into meshes, how to add texture to an image without effecting the alpha channel and make the image wrap on top of an object, so it would like the image was scratched into the metal or burned / painted onto the wood.